 Bookmark
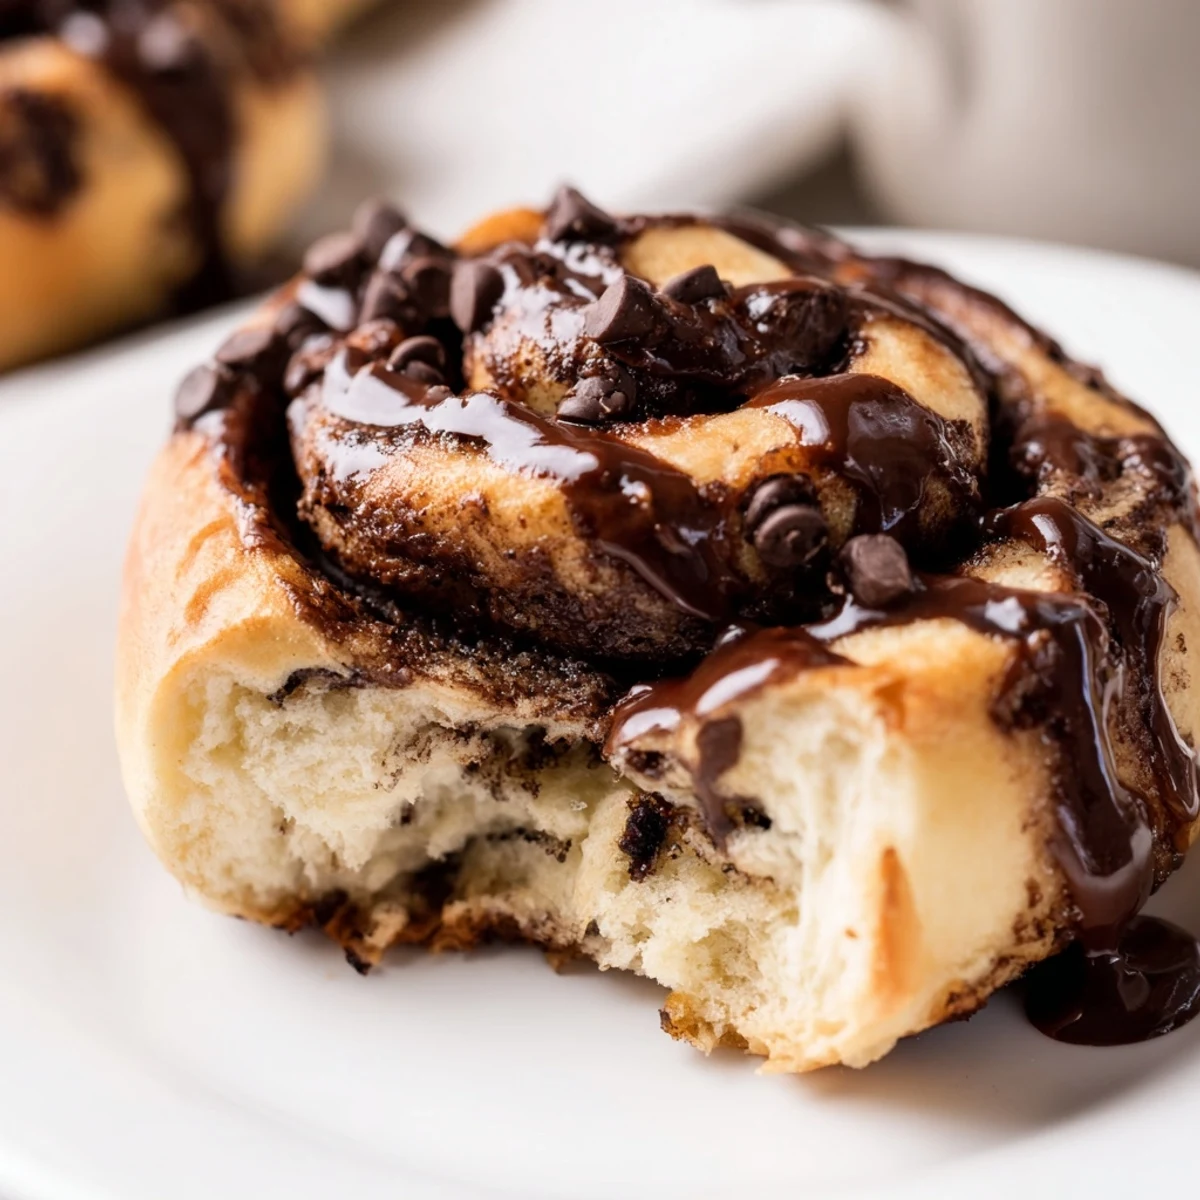
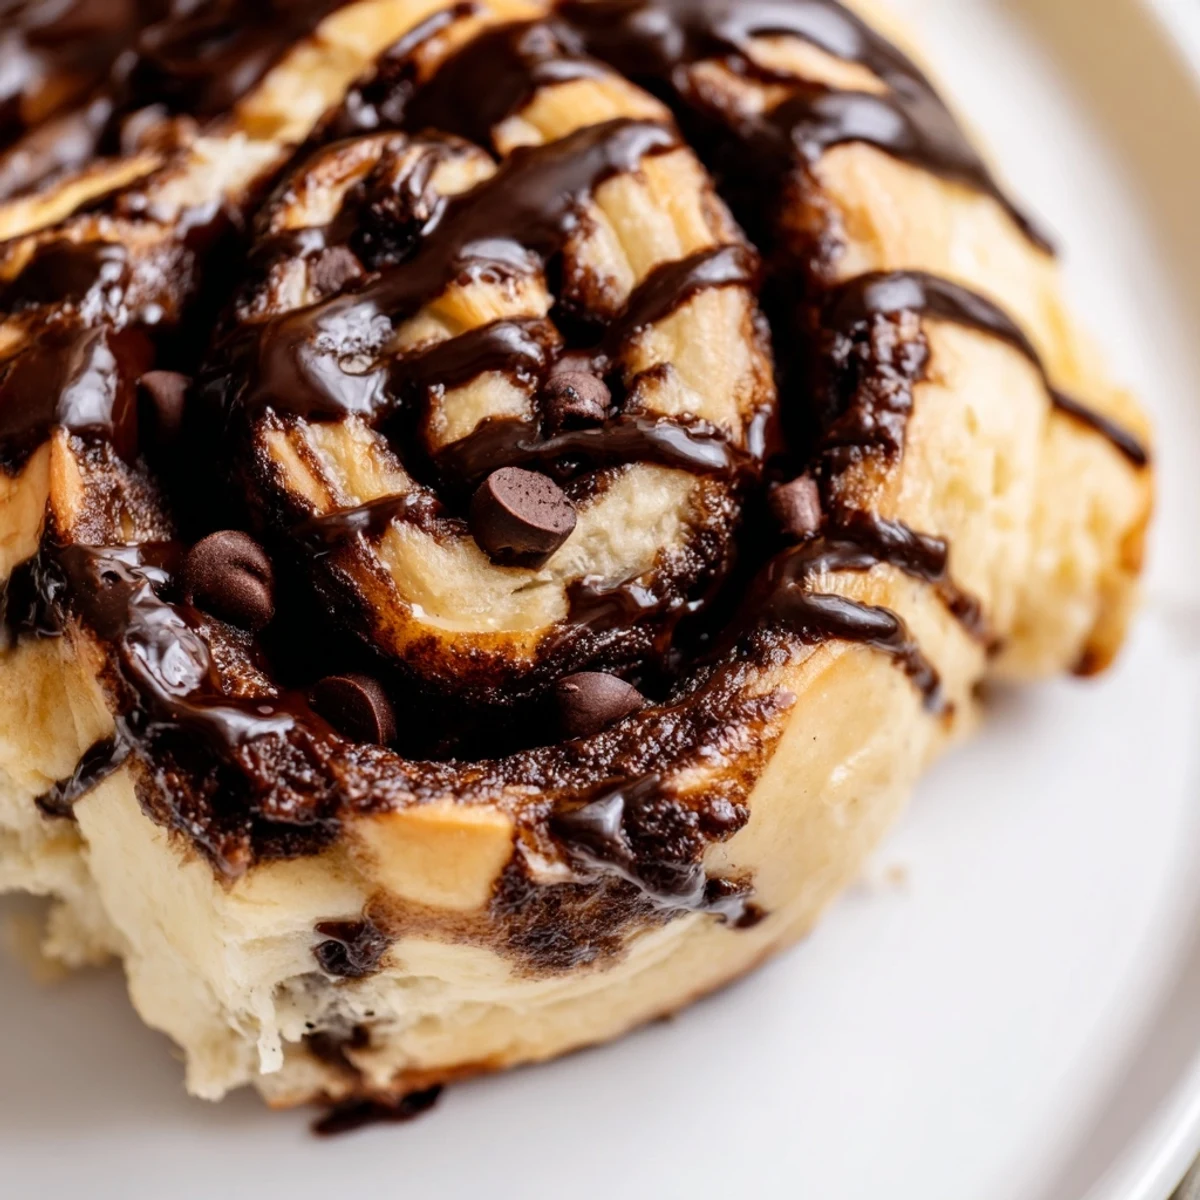
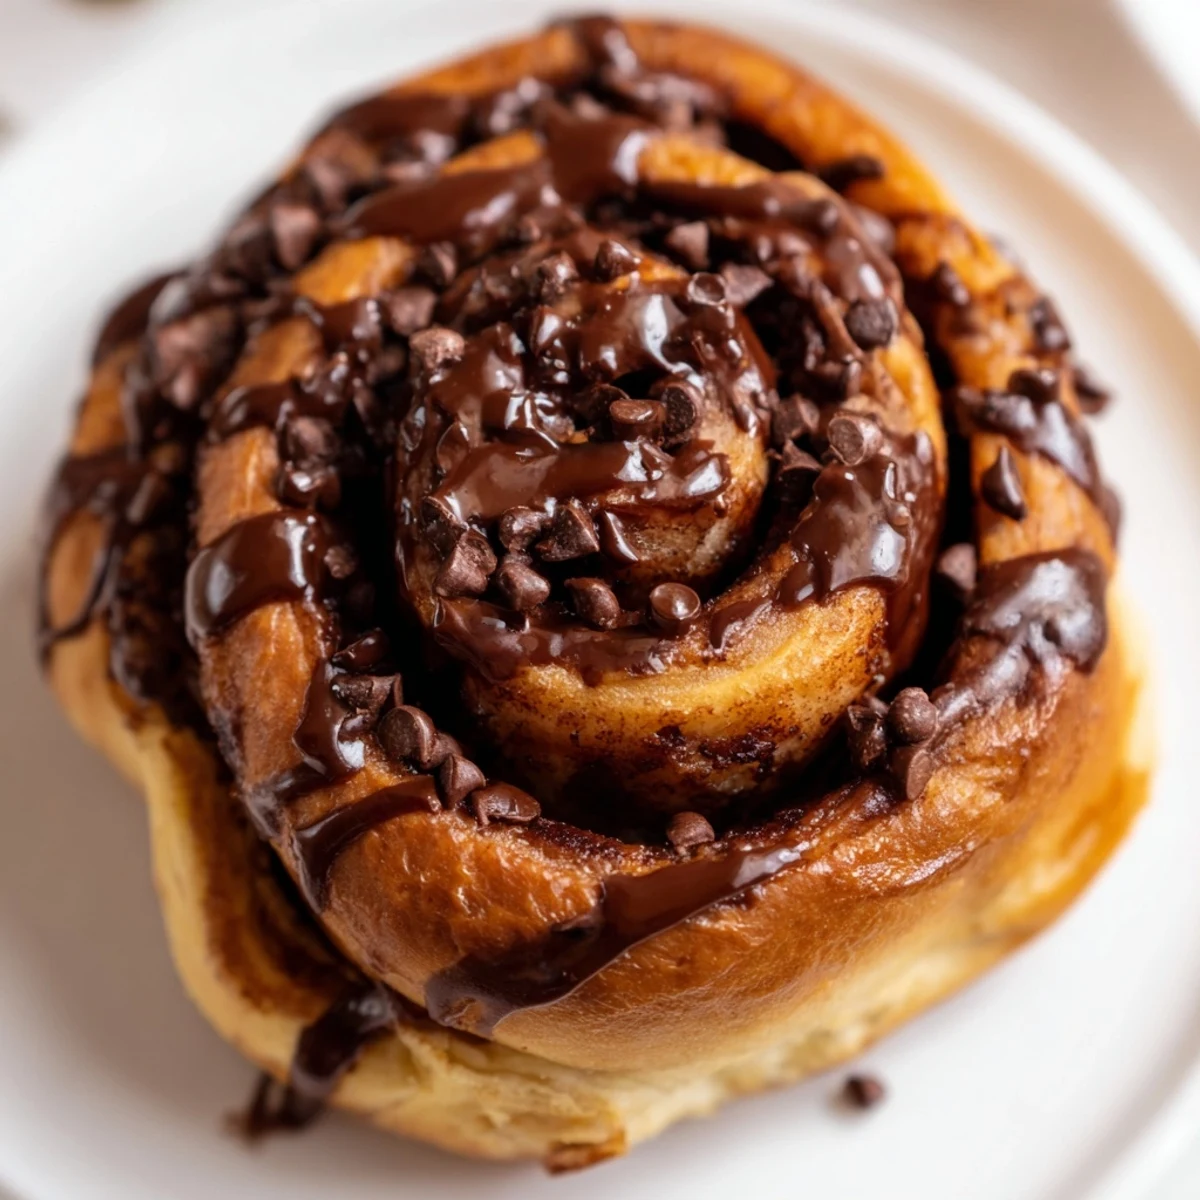
 These indulgent cinnamon rolls feature a soft, tender cocoa-infused dough swirled with a dark chocolate and cinnamon sugar filling. The dough rises to perfection, creating fluffy layers that bake up golden and fragrant. A rich chocolate glaze drizzled over warm rolls adds the finishing touch to this breakfast or dessert treat.
The smell of cocoa dough rising on a rainy Sunday morning changed everything I thought I knew about cinnamon rolls. I'd been experimenting with adding chocolate to everything lately, and something about the way chocolate and cinnamon play together felt like discovering a secret language. These came out of the oven looking like absolute works of art, and my roommate actually stopped dead in her tracks when she walked into the kitchen.
I made these for my sister's birthday brunch last month, and honestly, the way everyone went quiet when that first pan came out of the oven was the best compliment I could have asked for. My nephew who usually picks around chocolate in breakfast foods had three. The glaze sets up just enough to give you that perfect drip down the sides but stays soft enough that you don't need a jackhammer to bite through it.
Ingredients
- 3 1/2 cups all-purpose flour: This creates the structure for all that chocolate goodness, and I've found bread flour makes them too chewy for breakfast rolls
- 1/4 cup unsweetened cocoa powder: Dutch process gives you that deep dark color and mellow chocolate flavor without making the dough bitter
- 1 packet instant yeast: I've stopped using active dry because instant is so forgiving and gives you consistently fluffy results
- 1/3 cup granulated sugar: This feeds the yeast and balances the cocoa, but don't skip it or your rolls will taste sad and flat
- 1/2 tsp salt: Seems tiny but it's crucial for making all those flavors pop instead of tasting like flat chocolate cardboard
- 1 cup whole milk warm: The fat in whole milk makes such a difference in tenderness, and warm means about 105°F, not hot enough to kill your yeast
- 1/4 cup unsalted butter melted: Melted incorporates way more evenly into the dough than softened butter would
- 1 large egg room temperature: Cold eggs can shock your dough and mess with rising, so just let it sit on the counter while you gather everything else
- 1/2 cup brown sugar packed: The molasses in brown sugar creates this gorgeous caramelized note that pairs ridiculously well with cocoa
- 1/4 cup unsweetened cocoa powder: This second dose of cocoa in the filling is what makes these absolutely sing with chocolate intensity
- 1 1/2 tsp ground cinnamon: Don't be tempted to add more, cinnamon can easily overpower all that beautiful chocolate you're building
- 1/4 cup unsalted butter softened: Softened spreads so much more evenly than melted, giving you those perfect distinct layers
- 1/2 cup dark chocolate chips: Dark chocolate holds its shape better during baking and provides these little pockets of intense chocolate throughout
- 1 cup powdered sugar: Sift this first or you'll spend forever trying to get the lumps out of your glaze
- 1/4 cup unsweetened cocoa powder: The third and final layer of chocolate that pushes these over the top into pure indulgence
- 2-3 tbsp whole milk: Start with two and add the third only if you need it, you want thick and pourable not runny
- 1/2 tsp vanilla extract: Pure vanilla makes a huge difference here, artificial stuff can taste weirdly chemical with all that chocolate
Instructions
- Make the chocolate dough:
- Whisk together flour, cocoa powder, yeast, sugar, and salt in a large bowl until everything looks evenly distributed. Pour in the warm milk, melted butter, and egg, then stir with a wooden spoon until you have a sticky shaggy dough that pulls away from the sides of the bowl.
- Knead until smooth and elastic:
- Turn the dough out onto a lightly floured surface and knead by hand for 8 to 10 minutes, or use your stand mixer with the dough hook for the same amount of time. You'll know it's ready when the dough feels smooth and springs back when you poke it with your finger.
- Let the dough rise:
- Place the dough in a lightly greased bowl, turning once to coat all sides, then cover with plastic wrap or a clean kitchen towel. Let it rise in a warm spot for about an hour until it's doubled in size and feels puffy and alive when you touch it.
- Roll out the dough:
- Gently punch down the risen dough to release the air, then roll it out on a floured surface into a 16 by 12 inch rectangle. Try to keep the edges relatively straight and even so your rolls will be uniform in size.
- Layer on the filling:
- Spread the softened butter all over the dough right to the edges, then stir together brown sugar, cocoa powder, and cinnamon in a small bowl. Sprinkle this mixture evenly over the butter, then scatter the chocolate chips on top like you're tucking them into little chocolate blankets.
- Roll and slice the rolls:
- Starting from one long edge, roll the dough up tightly into a log, keeping the roll even as you go. Use unflavored dental floss or a sharp knife to slice the log into 12 equal rolls, then place them cut side up in a greased 9 by 13 inch baking dish.
- Second rise:
- Cover the baking dish with a towel and let the rolls rise for 30 to 45 minutes until they're puffy and touching each other. You'll know they're ready when you gently press one with your finger and the indentation slowly fills back in.
- Bake until golden:
- Preheat your oven to 350°F and bake the rolls for 22 to 25 minutes until they're set and lightly browned on top. They might look slightly underdone in the very center, but they'll finish cooking as they cool, and nobody likes dry cinnamon rolls anyway.
- Make the chocolate glaze:
- While the rolls are cooling slightly, whisk together powdered sugar, cocoa powder, 2 tablespoons of milk, and vanilla until smooth. Add the third tablespoon of milk only if you need it to reach pourable consistency, then drizzle generously all over the warm rolls.
 Bookmark
 These have become my go to for overnight guests because I can prep everything the night before and wake up to the most incredible chocolate aroma filling the whole house. Something about the combination of warm chocolate and fresh pastry makes people feel instantly at home.
Make Ahead Magic
You can assemble these rolls completely through the slicing step, then cover the baking dish tightly with plastic wrap and refrigerate overnight. In the morning, let them sit at room temperature for about an hour while your oven preheats, then bake as directed. The cold fermentation actually develops even more flavor.
Filling Variations
Sometimes I'll swap the dark chocolate chips for chopped milk chocolate when I'm craving something sweeter, or add a handful of toasted pecans for crunch. White chocolate chips create this gorgeous marbled effect and add a creamy contrast to all the dark chocolate intensity. Just keep the total add-ins around half a cup so your rolls still roll up neatly.
Storage Secrets
These rolls are best enjoyed fresh the same day, but if you somehow have leftovers, store them tightly covered at room temperature for up to two days. To refresh, warm them in the microwave for about 15 seconds and they'll taste freshly baked again.
- Never refrigerate these unless absolutely necessary, as cold temperature makes the starch in the dough retrograde and turn tough
- Freeze unbaked rolls after slicing by placing them on a baking sheet until frozen, then transfer to a freezer bag for up to a month
- Thaw frozen rolls overnight in the refrigerator, then let them rise at room temperature before baking
 Bookmark
 There's something almost meditative about rolling out dough and watching spirals form, and the way these smell while baking might just be the closest thing to magic that happens in a home kitchen.
Recipe FAQs
- → Can I make these rolls ahead of time?
-
Yes, prepare the rolls through step 10, refrigerate overnight, then let them rise at room temperature for 1 hour before baking.
- → What type of chocolate works best for the filling?
-
Dark chocolate chips or chopped dark chocolate (60-70% cocoa) provide the best balance of sweetness and intensity for the filling.
- → How do I know when the rolls are fully baked?
-
The rolls are done when they're set, lightly browned, and a toothpick inserted into the center dough comes out clean or with just a few moist crumbs.
- → Can I freeze these rolls?
-
Bake and cool completely, then wrap tightly and freeze for up to 3 months. Thaw at room temperature and warm before serving.
- → Why is my dough too sticky or too dry?
-
Humidity and flour absorption vary. Add flour 1 tablespoon at a time if too sticky, or add milk 1 teaspoon at a time if too dry until the dough is smooth and elastic.
- → Can I use instant yeast instead of active dry?
-
Yes, instant yeast works perfectly in this recipe. No need to activate it first—simply mix it directly with the dry ingredients.
