 Bookmark
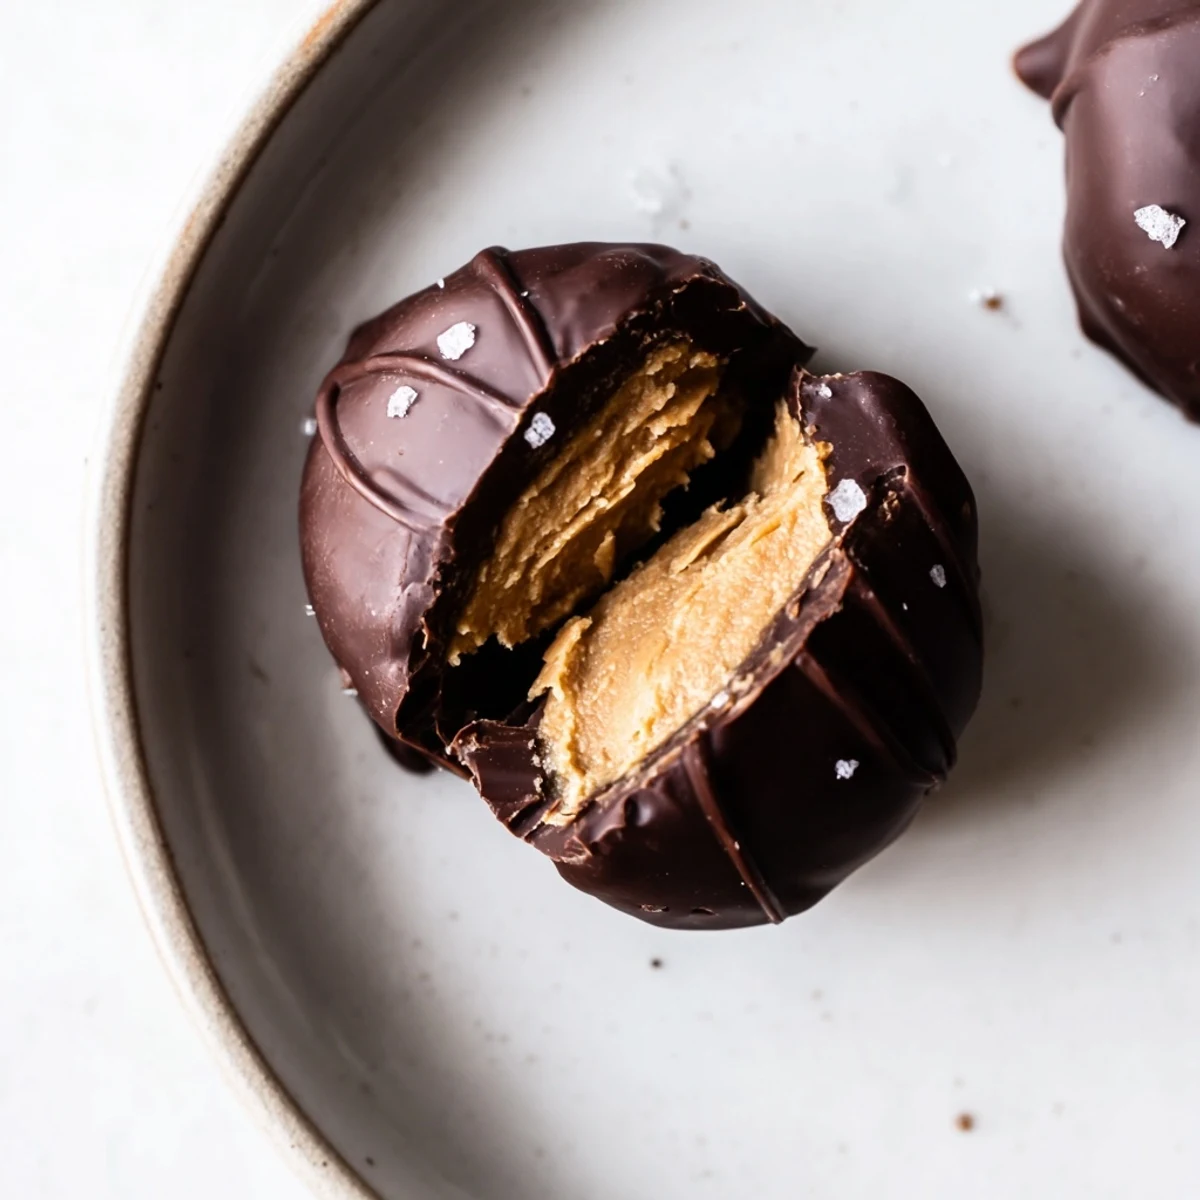
 Blend creamy peanut butter with Greek yogurt, maple syrup and vanilla, then portion into small mounds and freeze until firm. Dip each frozen bite in gently melted dark chocolate, sprinkle with flaky sea salt, and refreeze briefly. Store in an airtight container in the freezer up to a month. Swap nut butters or fold in chopped peanuts for added crunch.
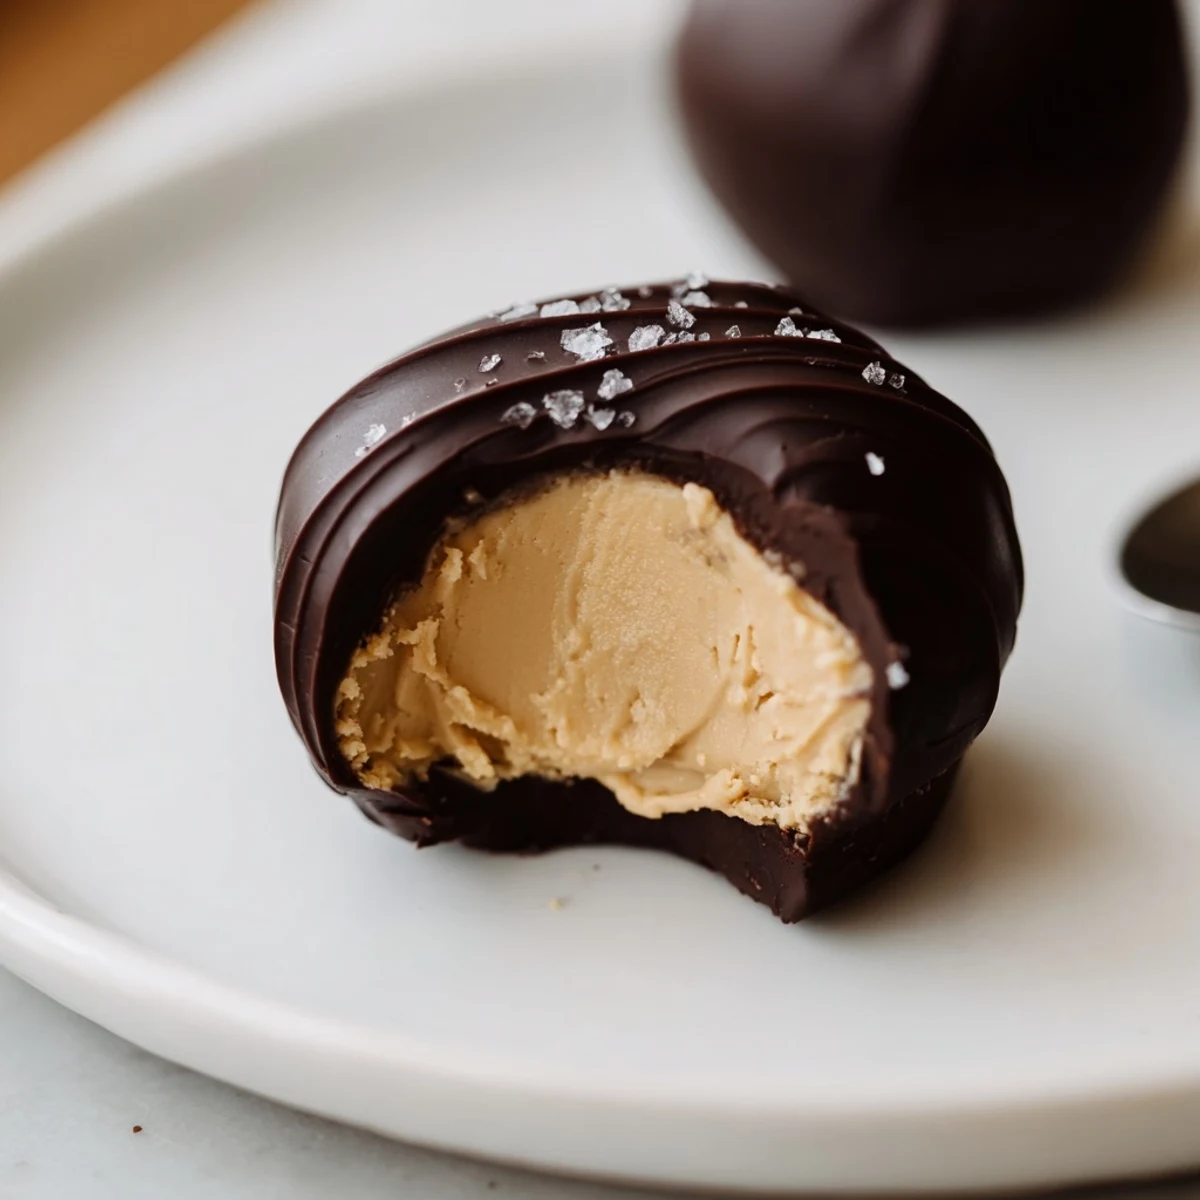
My freezer has always been a battleground between good intentions and midnight cravings, but these little bites changed everything. I stumbled onto the combination during a sweltering July when turning on the oven felt like a personal attack. The contrast of cold creamy centers against snapping dark chocolate hit me like a revelation I did not know I needed. Now I make double batches because they vanish faster than you would believe possible.
I brought a container of these to a friend's barbecue last summer and watched grown adults abandon the grill to hover near the freezer. Someone actually asked if I had ordered them from a boutique chocolatier, and I honestly considered lying. The silence that fell when everyone took their first bite was the kind of compliment no recipe card could ever capture.
Ingredients
- Creamy peanut butter (1 cup): Use the kind you have to stir, because the natural oils blend beautifully with the yogurt and keep the texture silky.
- Plain Greek yogurt (1 cup): Full fat gives the richest result, but low fat works fine if that is what you have on hand.
- Pure maple syrup or honey (2 tbsp): Just enough sweetness to balance the tang of the yogurt without overpowering it.
- Pure vanilla extract (1 tsp): A small amount rounds out all the flavors and makes everything taste more intentional.
- Dark chocolate, at least 70% cocoa (200 g): The higher percentage stands up to the salty finish and keeps things from becoming cloying.
- Coconut oil (1 tbsp, optional): This helps the chocolate coat smoothly and gives a nicer snap when you bite in.
- Flaky sea salt: Please do not skip this, because it transforms good into unforgettable.
Instructions
- Set your stage:
- Line a baking sheet with parchment paper so nothing sticks later when you are working quickly with cold bites and warm chocolate.
- Blend the filling:
- Stir peanut butter, yogurt, maple syrup, and vanilla in a bowl until completely smooth with no streaks remaining. Taste it now, because this is your chance to adjust the sweetness.
- Shape the bites:
- Drop heaping teaspoons onto the parchment, spacing them an inch apart so they have room to breathe. A small cookie scoop makes this faster and more uniform if you have one.
- Freeze until firm:
- Slide the tray into the freezer for at least two hours until the mounds are rock solid. They need to be completely frozen or they will fall apart during dipping.
- Melt the chocolate:
- About ten minutes before you plan to dip, melt the chopped chocolate with coconut oil in a microwave safe bowl in short thirty second bursts, stirring between each one. You want it glossy and fluid, not hot and thick.
- Dip and coat:
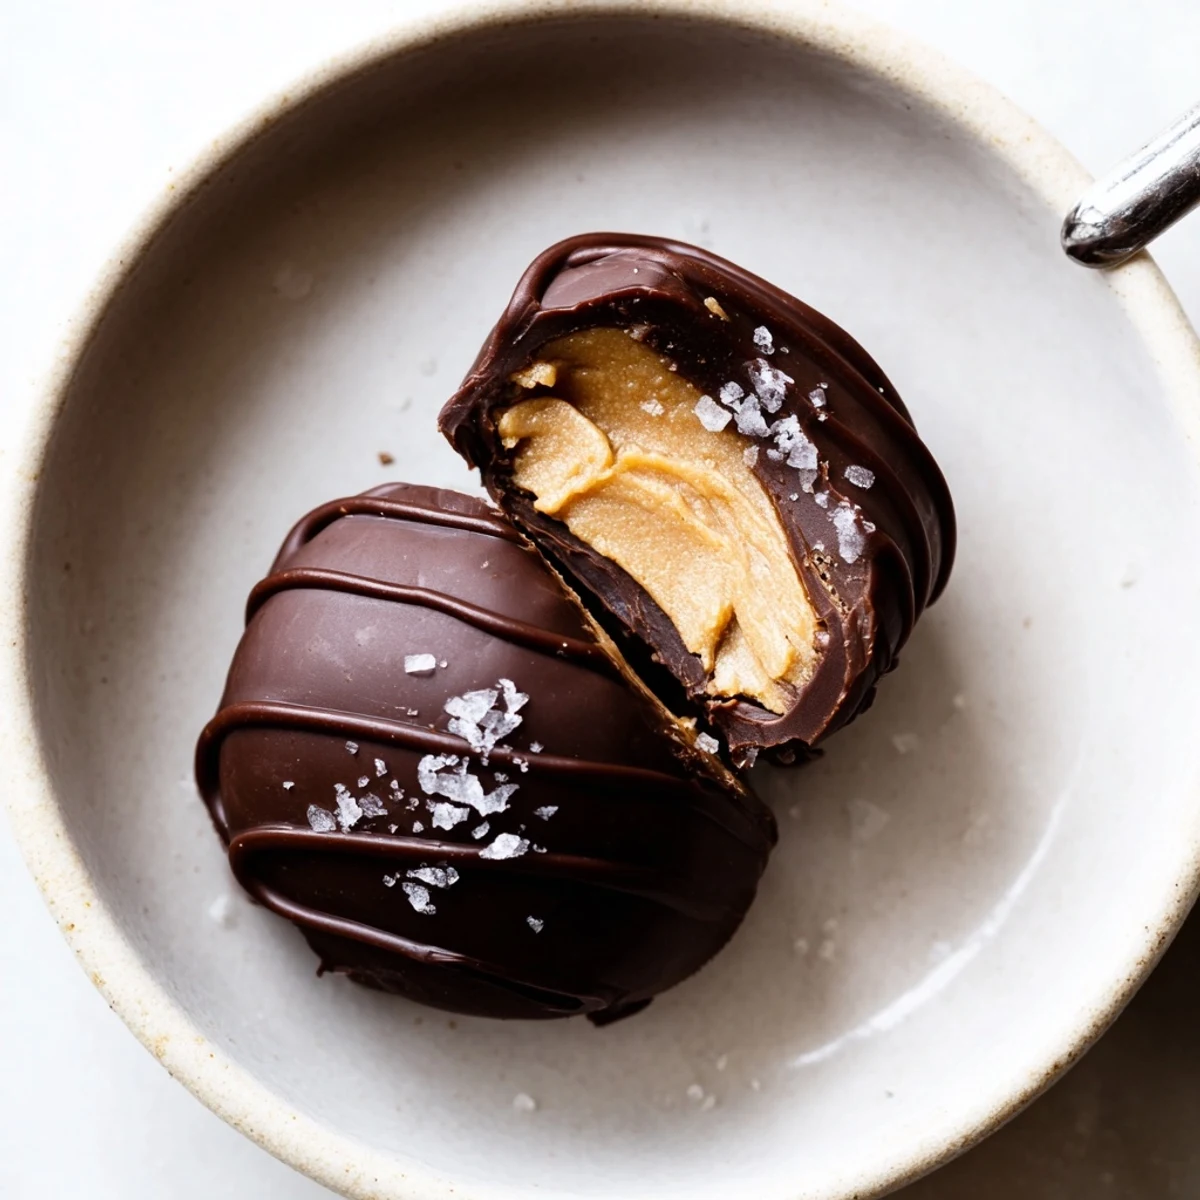
- Working quickly, drop a frozen bite into the chocolate, flip it with a fork, lift it out, and tap the fork gently against the bowl edge to shed excess coating. Place each one back on the parchment and watch how the chocolate starts to set almost immediately from the cold.
- Finish with salt:
- Sprinkle flaky sea salt on top right away before the chocolate hardens completely. A pinch per bite is all you need.
- Set and store:
- Return the tray to the freezer for another ten to fifteen minutes until the coating is firm. Transfer finished bites to an airtight container and keep frozen for up to one month.
 Bookmark
 There is something quietly magical about opening the freezer on a random Tuesday and finding a stash of these waiting like a secret gift from your past self.
Swaps and Variations
Almond butter or sunflower seed butter work just as well if peanuts are not your thing. I once folded in chopped roasted peanuts on a whim and loved the unexpected crunch, so consider that if you want more texture. You could also use vanilla Greek yogurt instead of plain for extra sweetness without adding more syrup.
Tools That Make It Easier
A small cookie scoop is honestly the hero here because it gives you uniform bites that dip and freeze evenly. A double boiler works if you prefer gentle melting over the microwave, but either way you need a fork or dipping tool and a sturdy baking sheet lined with parchment. Keep an airtight container ready because you will not want to leave these exposed to air.
A Few Final Thoughts
These bites are best served straight from the freezer or allowed to sit for just a minute or two so the centers soften slightly. They are vegetarian and gluten free as written, but always check your chocolate label for soy or nut traces if allergies are a concern.
- Let the chocolate cool slightly after melting so it does not shock the frozen centers into cracking.
- Double the batch because a single one will disappear within days.
- Remember that imperfection is part of the charm, so lumpy coatings still taste incredible.
 Bookmark
 Keep a batch hidden in the back of your freezer where no one else will find them, and you will always have something sweet waiting for you.
Recipe FAQs
- → Can I use flavored Greek yogurt?
-
Yes—vanilla or honey-flavored Greek yogurt adds sweetness and reduces added sweetener. Use plain if you prefer a less sweet, more peanut-forward bite.
- → How do I prevent chocolate from seizing?
-
Melt chocolate slowly over low heat or in short microwave bursts, stirring frequently. Adding a small amount of coconut oil helps create a smoother, more fluid coating.
- → How long do the bites keep in the freezer?
-
Stored in an airtight container, the bites stay best for up to one month. Thaw slightly before serving if you prefer a softer texture.
- → Any tips for dipping evenly?
-
Work with fully frozen centers and use a fork or dipping tool to coat, tapping off excess chocolate against the bowl edge. Place on parchment and sprinkle sea salt immediately.
- → Can I make these nut-free?
-
Substitute sunflower seed butter for peanut butter and ensure chocolate is processed in a nut-free facility. Taste and adjust sweetness as needed.
- → How can I add crunch or texture?
-
Fold in chopped roasted peanuts or mix in toasted oats before freezing. A light dusting of cocoa nibs or crushed nuts on top also adds texture.
