 Bookmark
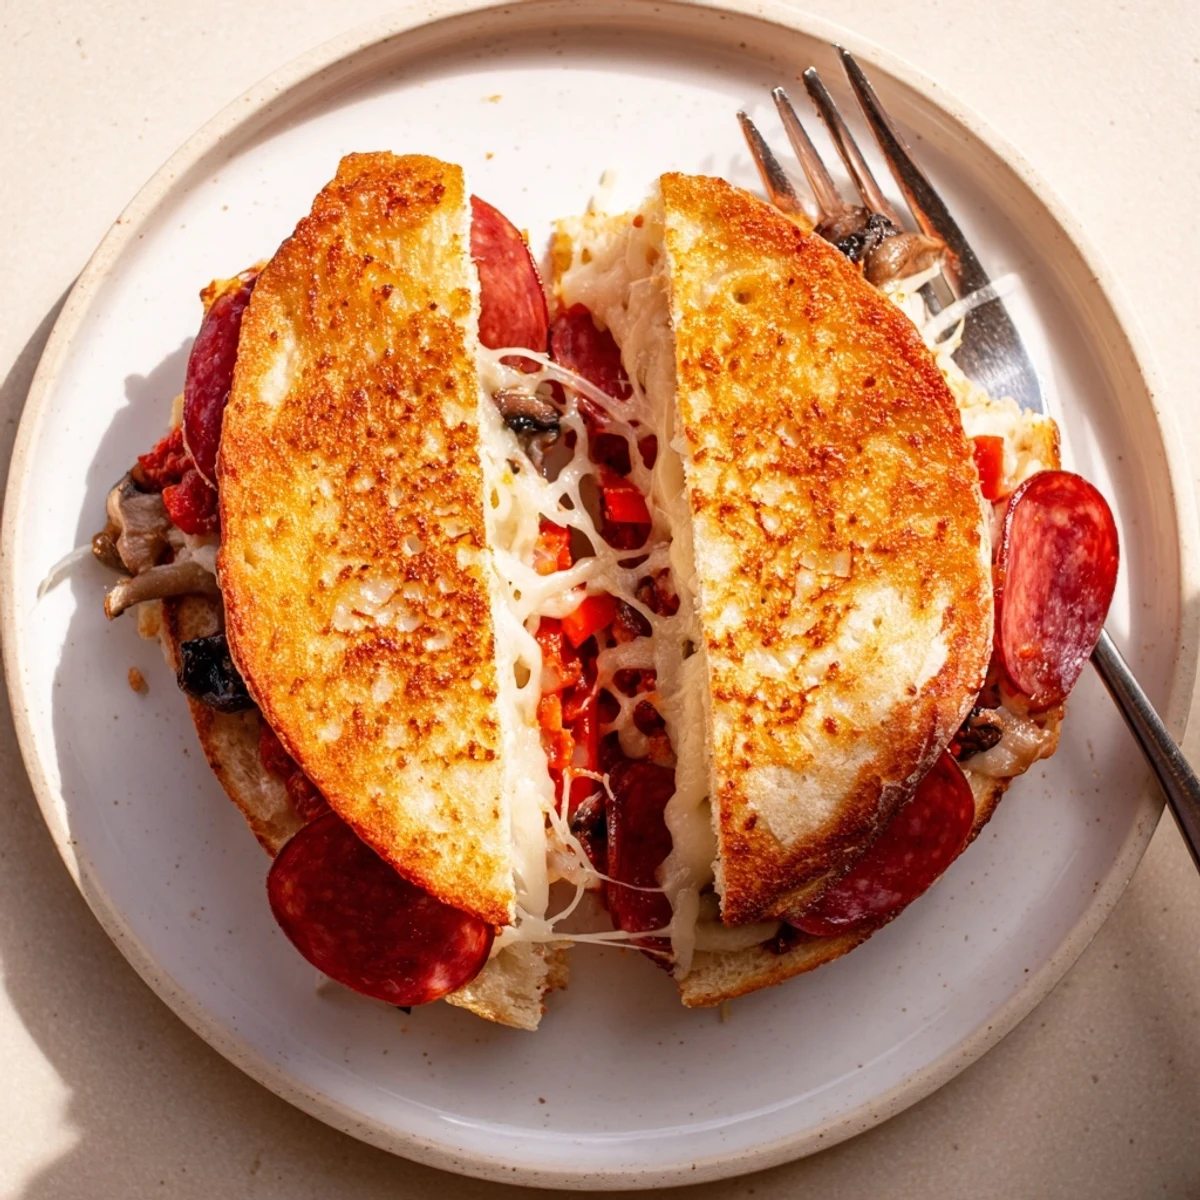
 Quick handheld pockets using sandwich bread, pizza sauce and shredded mozzarella. Butter bread, spread sauce, add cheese and chosen toppings, close and seal in a pie iron, then cook 3-4 minutes per side over medium heat until golden and cheese melts. Yields 4 pockets; prep about 10 minutes and cook about 8 minutes total. Swap fillings, use gluten-free bread, or add herbs for variation. Let cool briefly before serving.
Fires crackling outside and laughter echoing from the tent nearby, I discovered the magic of pie iron pizza pockets quite by accident on a family camping trip. Someone handed me a battered pie iron and a loaf of bread and simply said, Trust me. I had no idea that minutes later I’d be biting into the crunchiest, cheesiest campfire dinner I had ever tasted. The mix of woodsmoke and bubbling mozzarella was a revelation.
I always remember my niece trying to fit as many olives as possible in hers, giggling at the hill of toppings spilling out before we clamped the iron closed. Those pizza pockets disappeared faster than the last marshmallow, and requests for ‘just one more’ became a tradition. It’s now our go-to for the first night under the stars, with everyone hoping their pocket will emerge the crispiest and most golden.
Ingredients
- Bread: Opt for sandwich bread with some structure so it holds up in the iron; slightly stale works even better for crunch.
- Pizza sauce: A tangy, thick sauce helps keep the bread from getting soggy, and a little goes a long way.
- Mozzarella cheese: Finely shredded melts fast and gives that classic stretch when you pull the pockets apart.
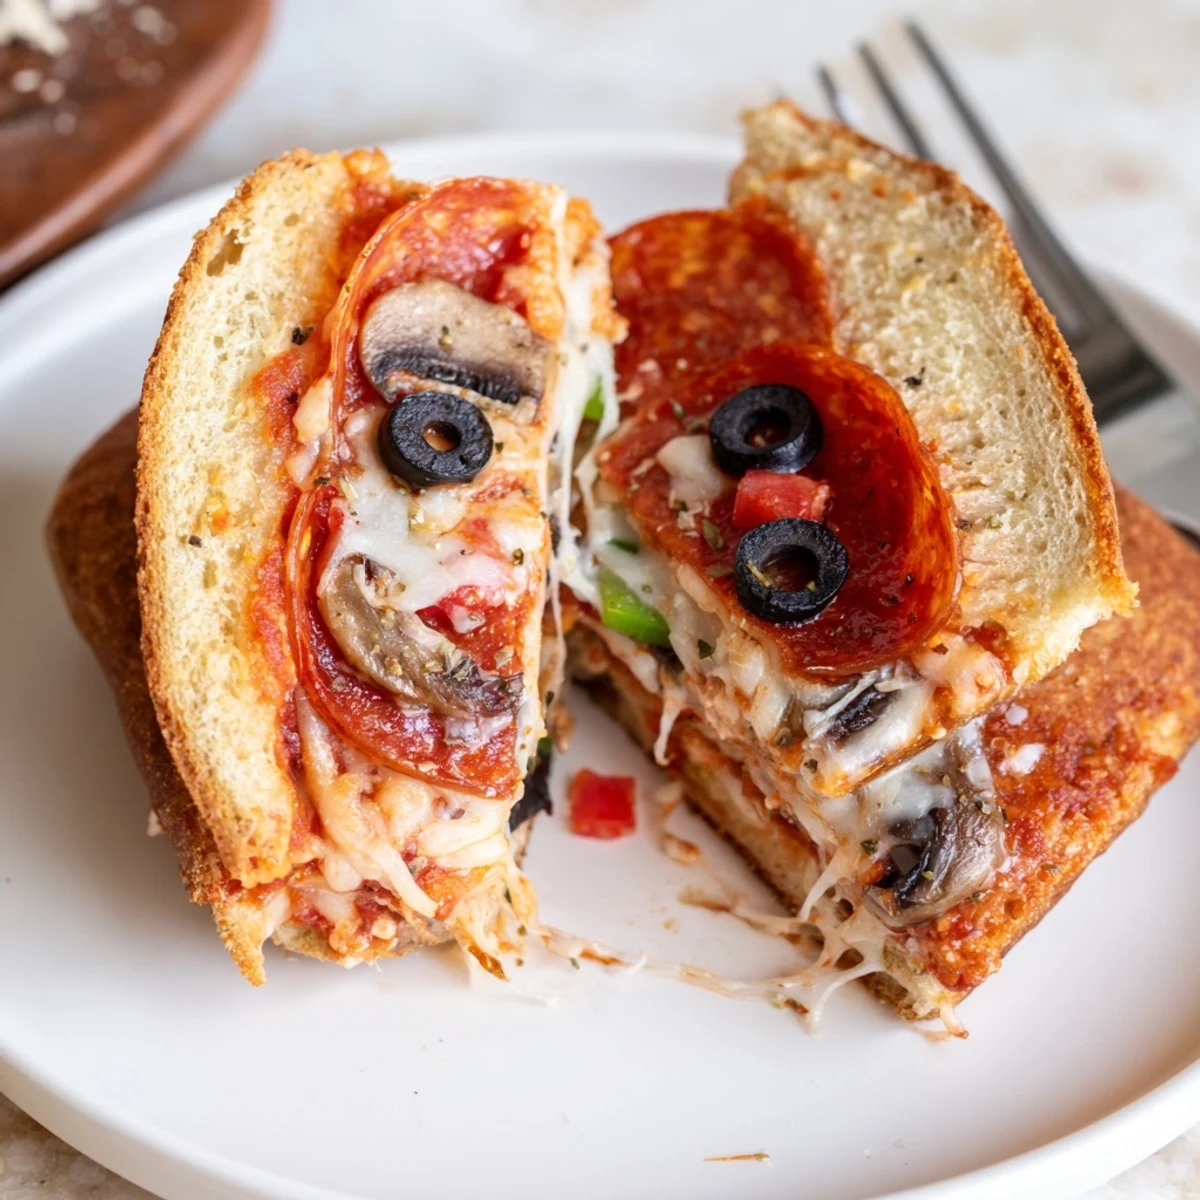
- Toppings (pepperoni, olives, bell peppers, mushrooms, Italian herbs): Chop them small and don’t overfill, or you’ll end up with some delicious fallout in the embers.
- Butter (for brushing): Melted butter is the secret to that crackling, golden crust – don’t skip this part.
Instructions
- Warm the iron:
- Place the pie iron over glowing embers or your stove for a couple minutes so it’s hot when you start – you’ll hear a satisfying sizzle later.
- Prep the bread:
- Brush one side of each slice with melted butter, then lay four down, buttered side against your work surface – this sets up the perfect toasty exterior.
- Spread the love:
- Spoon two tablespoons of pizza sauce onto each slice, spreading nearly to the edges, then scatter on enough mozzarella to cover the sauce generously.
- Top and cover:
- Add your favorite toppings and just a pinch of Italian herbs, then cap each with a second slice, buttered side out.
- Fill the iron:
- Carefully tuck a sandwich into each side of the hot pie iron, close and latch, and trim off any crust sticking out – nobody likes burnt bits later.
- Fire time:
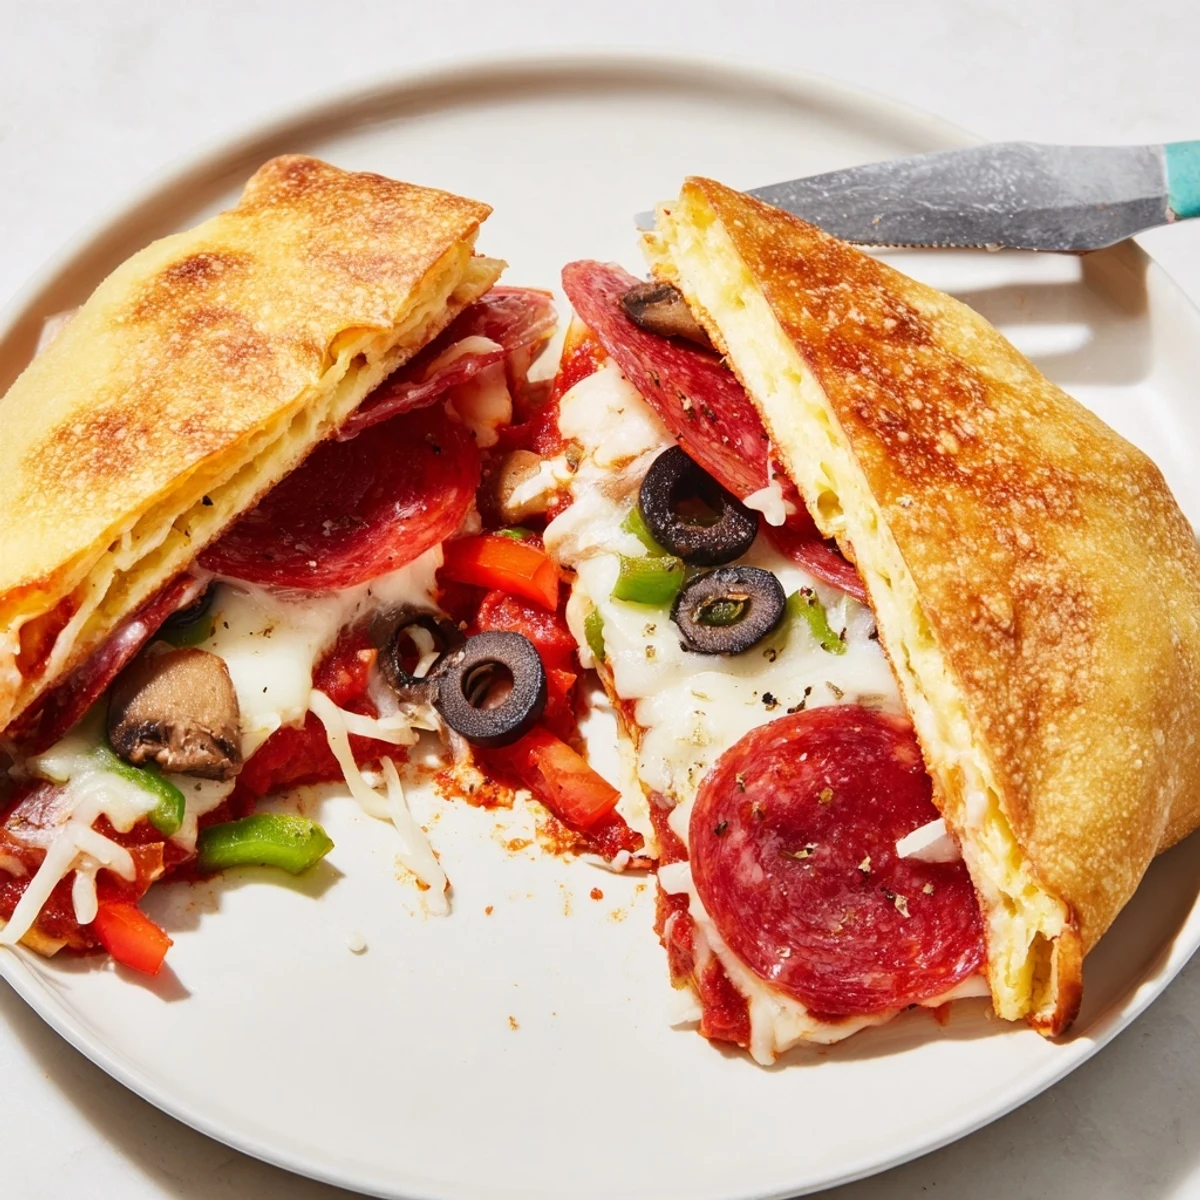
- Cook over medium heat for about 3 to 4 minutes per side; listen for gentle sizzles and peek to check for golden color along the edges.
- Cool and serve:
- Let each pizza pocket rest a moment after removing from the iron – molten cheese is no joke – then hand them out with big napkins.
 Bookmark
 The night our neighbor’s kid swapped his mushrooms for bell peppers with my nephew, and they both claimed theirs tasted better, was the moment these pizza pockets became a campsite legend for us. Suddenly, food was a trading card, and every pocket was unique and celebrated.
Choosing Your Ideal Toppings
The beauty of these pizza pockets is that you can tailor them for picky eaters and adventure seekers alike. Sometimes a sprinkle of fresh basil or a few slices of smoky ham turn the whole experience around. Let everyone build their own – it makes the meal special and the conversations around the fire even better.
Making It Work Indoors
If rain sends your campfire plans indoors, don’t worry – these are just as fun made on a stovetop or grill. The aroma fills the kitchen and a cast iron pan can pinch-hit for the pie iron in a pinch. It may not have the campfire allure, but the pizza magic is all there.
Last Touches For Campfire Success
After a few rounds, I realized wiping the iron lightly with oil between pockets prevented sticking and made cleanup a breeze. Use tongs when flipping – the handles get super hot even if you think they’re far from the flames. Let everyone cool their pocket a minute, since singed tongues can ruin dessert plans.
- Resist temptation to overfill with sauce or cheese – neatness pays off.
- A sprinkle of parmesan before closing the iron makes a flavorful crust.
- Keep napkins or towels handy, as oozing cheese loves fingers.
 Bookmark
 Whether you’re out in the woods or just craving a cozy treat, pie iron pizza pockets deliver joy and gooey satisfaction every time. They’re proof that a little smoke and creativity make any meal memorable.
Recipe FAQs
- → What bread works best?
-
Use sturdy sandwich bread like white or whole wheat to hold fillings. Slightly thicker slices crisp up nicely; trim any overhanging crust for a tight seal.
- → How do I prevent soggy bread?
-
Butter the outer sides of the bread and avoid overloading sauce. Pat any wet toppings dry and use just 2 tablespoons of sauce per pocket to keep interiors melty without sogginess.
- → Can I cook these indoors instead of over a campfire?
-
Yes. Preheat a stovetop-ready pie iron over a burner or use a cast-iron press on medium heat. Cook 3-4 minutes per side until golden and the cheese is melted.
- → How should leftovers be stored and reheated?
-
Store cooled pockets in an airtight container in the fridge for up to 2 days. Reheat in a toaster oven or skillet to restore crispness; avoid microwaving which can make them soggy.
- → What are good topping variations?
-
Try cooked sausage, ham, fresh basil, sliced olives, mushrooms, or diced peppers. Swap marinara for pesto for a different flavor profile.
- → Any tips for sealing the pie iron?
-
Press firmly and trim exposed bread edges before closing. A light dusting of flour on the iron faces can help prevent sticking, and buttering the outside promotes even browning.
