 Bookmark
 These soft hot dog buns repurpose your sourdough stash into something spectacular. The unfed discard adds a gentle tang and extra tenderness to the dough, resulting in pillowy buns that hold up beautifully to grilled sausages and all your favorite toppings.
The process is straightforward: mix warm milk with yeast and sugar, blend in the discard with butter and egg, then gradually work in flour until you have a smooth, elastic dough. After rising, shape into logs and let them proof again before baking at 375°F until golden brown.
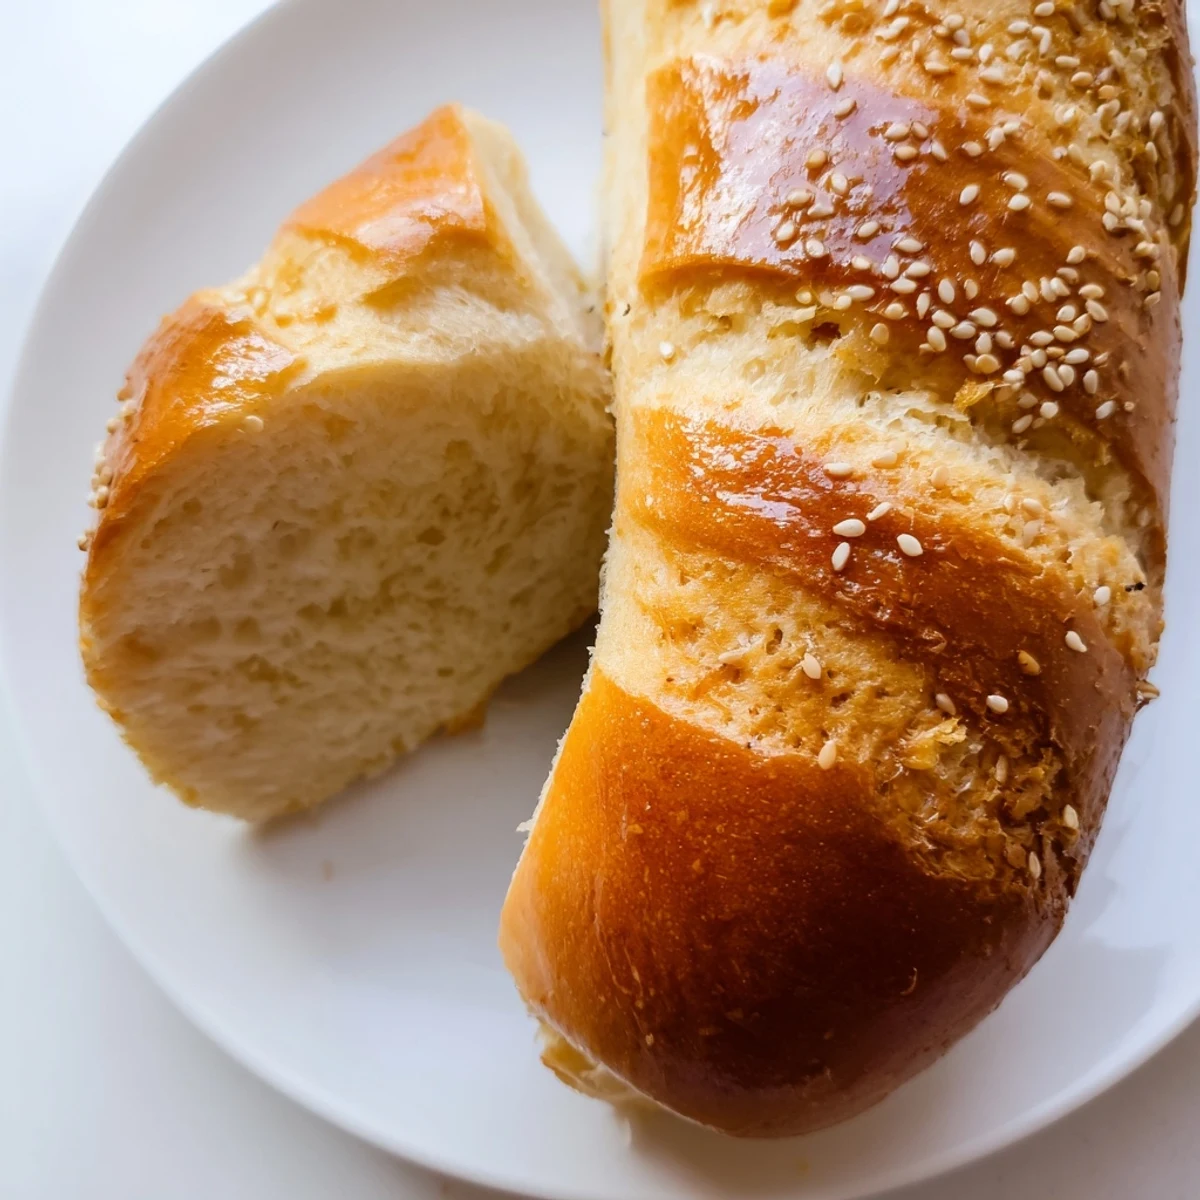
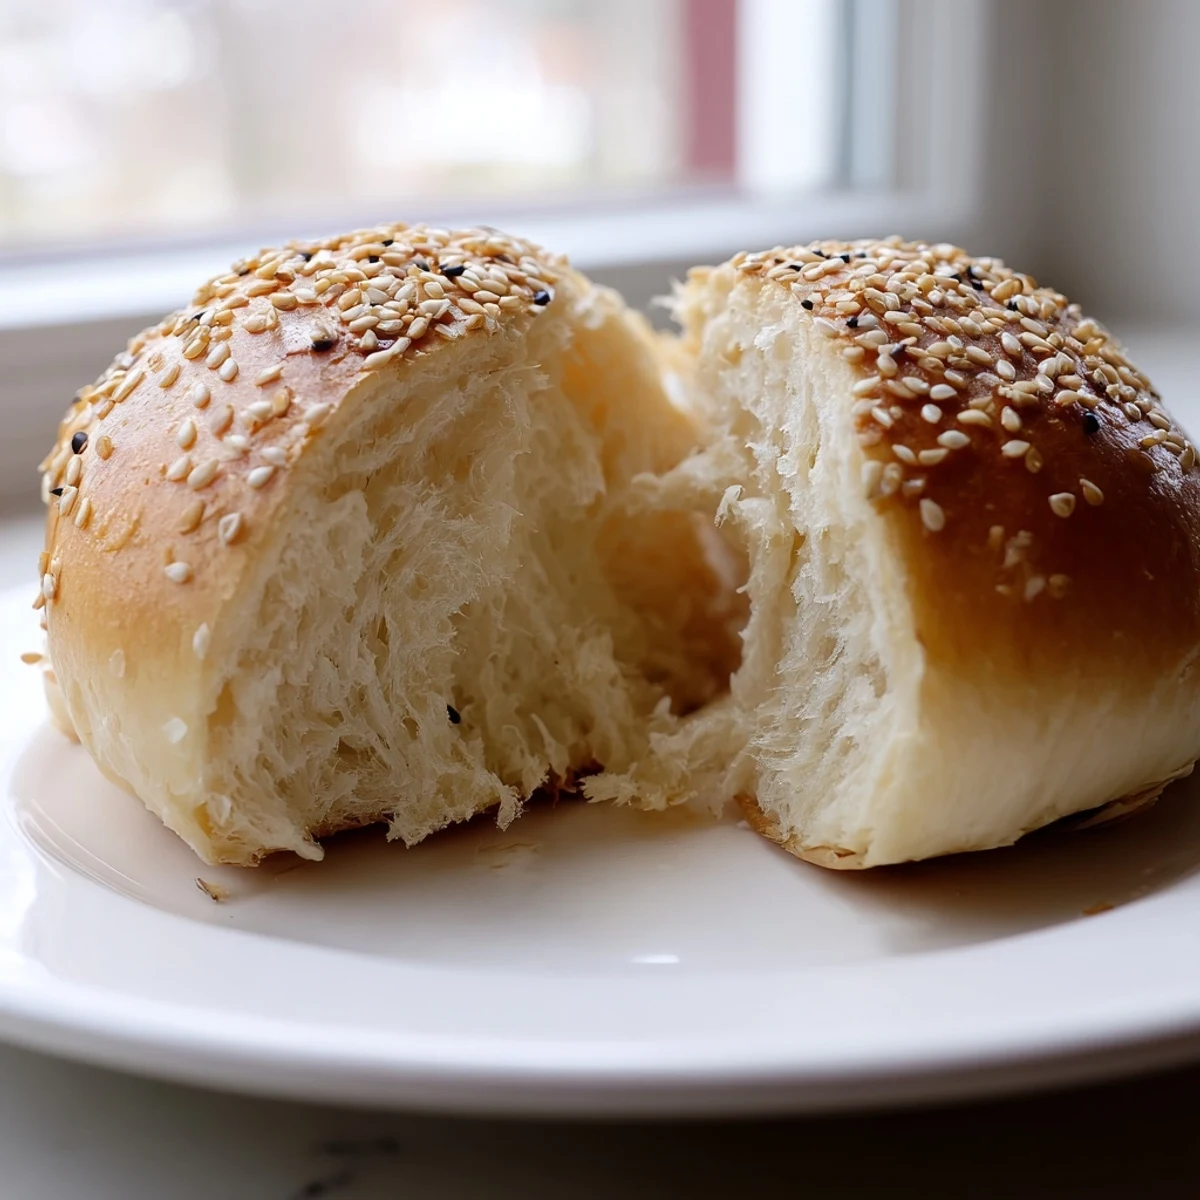
Brush with melted butter right out of the oven for an irresistibly soft crust, or sprinkle with sesame seeds before baking for that classic bakery look. You'll get eight generous buns that freeze beautifully for future cookouts.
The smell of fresh bread has always stopped me in my tracks, but theres something extra magical about hot dog buns emerging from the oven. I discovered sourdough discard buns during a summer when our starter was producing more than we could ever bake into loaves. Now theyre the only kind of bun that graces our grill, transforming ordinary cookouts into something worth gathering around.
Last July, I made three dozen of these for a block party and watched them disappear in under twenty minutes. My neighbor asked for the recipe, then confessed she'd been buying bakery buns for years because she thought homemade would be too fussy. Seeing her face when she bit into a warm, buttery bun straight from the oven made all the kneading worth it.
Ingredients
- Sourdough discard: Use unfed starter at 100% hydration for that characteristic tang without needing to feed your starter first
- Warm milk: Scalded and cooled to about 110°F creates the tenderest crumb I've found
- Unsalted butter: Melted so it incorporates evenly and distributes richness throughout every bite
- Sugar: Just enough to help the yeast work its magic and give the crust that gorgeous golden color
- Egg: Adds structure and helps the buns develop that professional sheen when brushed with milk
- Salt: Don't skip it even though the sourdough has its own seasoning
- All-purpose flour: Start with less and add more as needed
- Instant yeast: Works faster than active dry and gives consistently reliable rises
- Milk for brushing: Creates that bakery-worthy golden finish and helps seeds stick
- Melted butter: The secret to soft, pillowy buns instead of tough crusty ones
Instructions
- Wake up the yeast:
- Combine warm milk with sugar and yeast in your largest bowl, watching for tiny bubbles to prove it's alive and working
- Build the base:
- Stir in the sourdough discard, melted butter, egg, and salt until everything's incorporated and the mixture looks smooth
- Bring it together:
- Add flour gradually, one cup at a time, until the dough pulls away from the sides but still feels slightly tacky to the touch
- Knead until smooth:
- Work the dough on a floured surface for 7 to 8 minutes until it feels silky and bounces back when you poke it
- Let it rest:
- Place the dough in a greased bowl, cover it with a warm towel, and walk away for about an hour until it's doubled
- Shape your buns:
- Divide the dough into 8 equal pieces, then roll each into a 6-inch log, tapering the ends slightly for that classic bun shape
- Second rise:
- Arrange the shaped buns on parchment paper, give them space to grow, and cover for another 30 to 45 minutes until puffy
- Bake to golden:
- Brush with milk, add seeds if you want them pretty, then bake at 375°F for 18 to 20 minutes until deeply golden
- The finishing touch:
- Brush immediately with melted butter and let them cool completely before slicing or freezing
 Bookmark
 My daughter helped shape the buns last weekend, creating delightfully lumpy, irregular logs that somehow tasted even better than the perfect ones. There's something about knowing these buns started as discard and ended up as the highlight of dinner that makes them taste like pure love.
Making Ahead
The dough can be made the night before and kept in the refrigerator for its first rise. In fact, a slow overnight rest develops even more flavor and makes shaping easier since the cold dough is less sticky.
Shaping Secrets
I've learned that rolling each piece under my palms with light, even pressure works better than aggressive stretching. If the dough keeps springing back, let it rest for 5 minutes and try again.
Storage & Freezing
Once completely cool, store buns in an airtight container for up to 3 days. For longer storage, wrap individually in plastic and freeze for up to 3 months. Thaw frozen buns on the counter for 2 hours or warm them in a 300°F oven for 10 minutes.
- Slice buns before freezing for easy grilling straight from the freezer
- Refresh day-old buns by sprinkling with water and heating at 350°F for 5 minutes
- Use stale buns for homemade croutons or bread crumbs
 Bookmark
 There's nothing quite like pulling a batch of these from the oven and watching everyone abandon whatever they're doing to grab a warm bun. Happy baking, and may your grill never run out of the perfect vessel for whatever you're serving.
Recipe FAQs
- → Can I use active sourdough starter instead of discard?
-
Yes, active starter works perfectly. You may notice a slightly more pronounced tang and faster rise times. Consider reducing the yeast slightly if your starter is very vigorous.
- → Why do I need to punch down the dough?
-
Punching down releases excess carbon dioxide built up during fermentation and redistributes yeast cells for a more even second rise. This ensures your buns bake up with consistent texture and density.
- → Can I make these buns ahead of time?
-
Absolutely. After shaping the logs, you can refrigerate them overnight on the baking sheet, covered tightly. Let them come to room temperature and complete their final rise before baking the next day.
- → What's the difference between using milk and water?
-
Milk creates a softer, richer crumb due to its fat content and natural sugars. The milk proteins also promote better browning. Water-only versions will yield a slightly chewier texture with lighter coloration.
- → How do I know when the buns are fully baked?
-
Fully baked buns should be deep golden brown on top and sound hollow when tapped on the bottom. An instant thermometer inserted into the center should read 190-200°F. The internal temperature is the most reliable indicator.
- → Can I freeze the baked buns?
-
Yes, freeze cooled buns in a freezer bag for up to 3 months. Thaw at room temperature, then refresh in a 350°F oven for 5-7 minutes to restore that freshly-baked softness. Slice before freezing for easier use later.
