 Bookmark
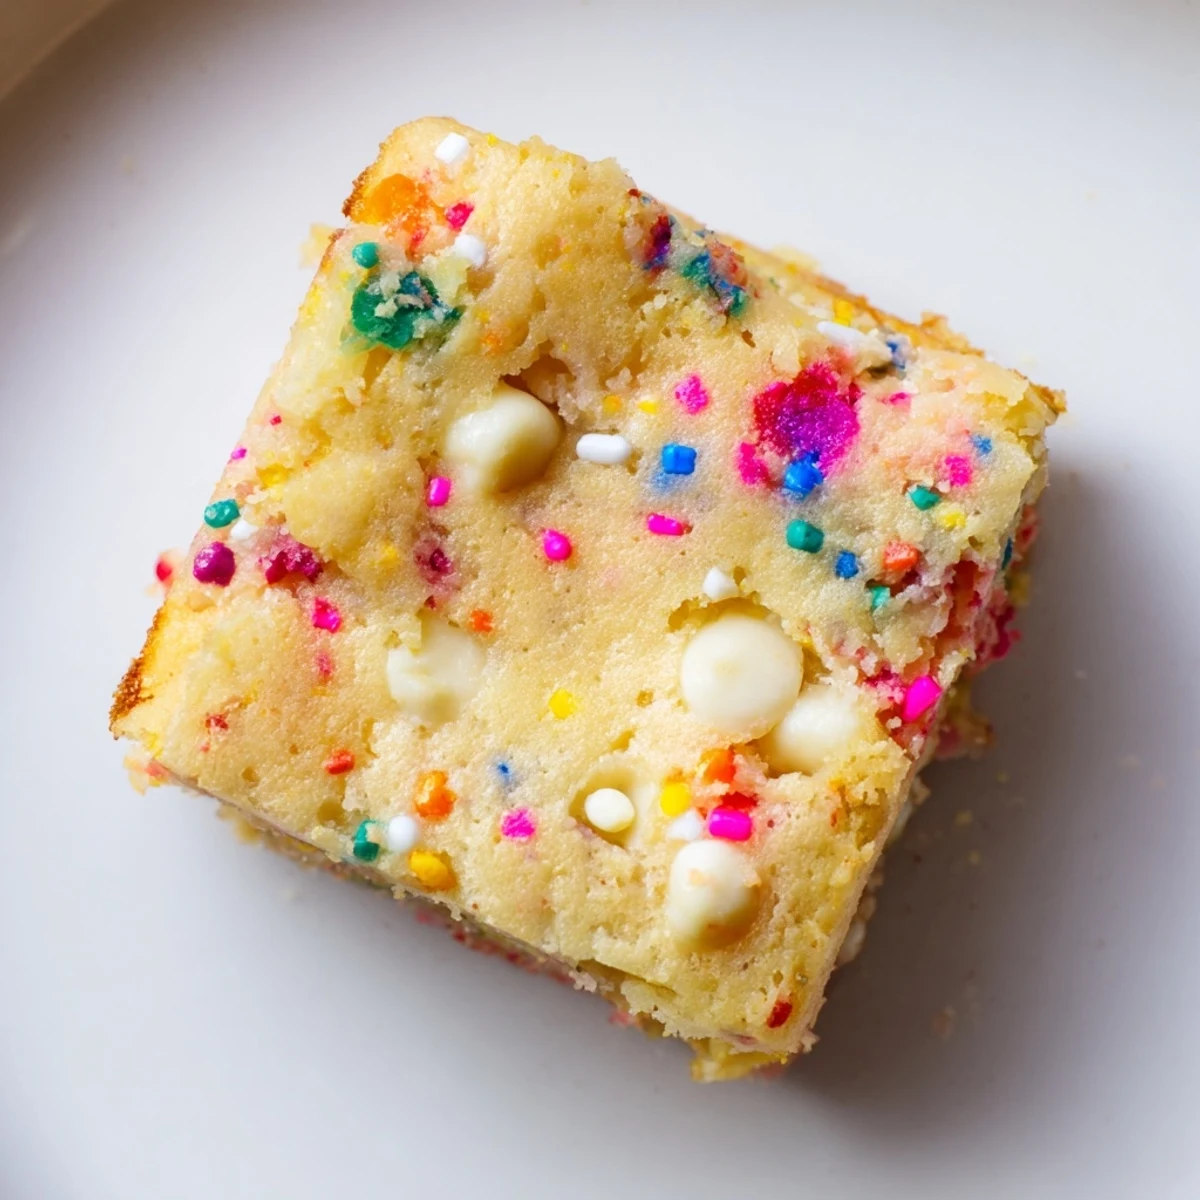
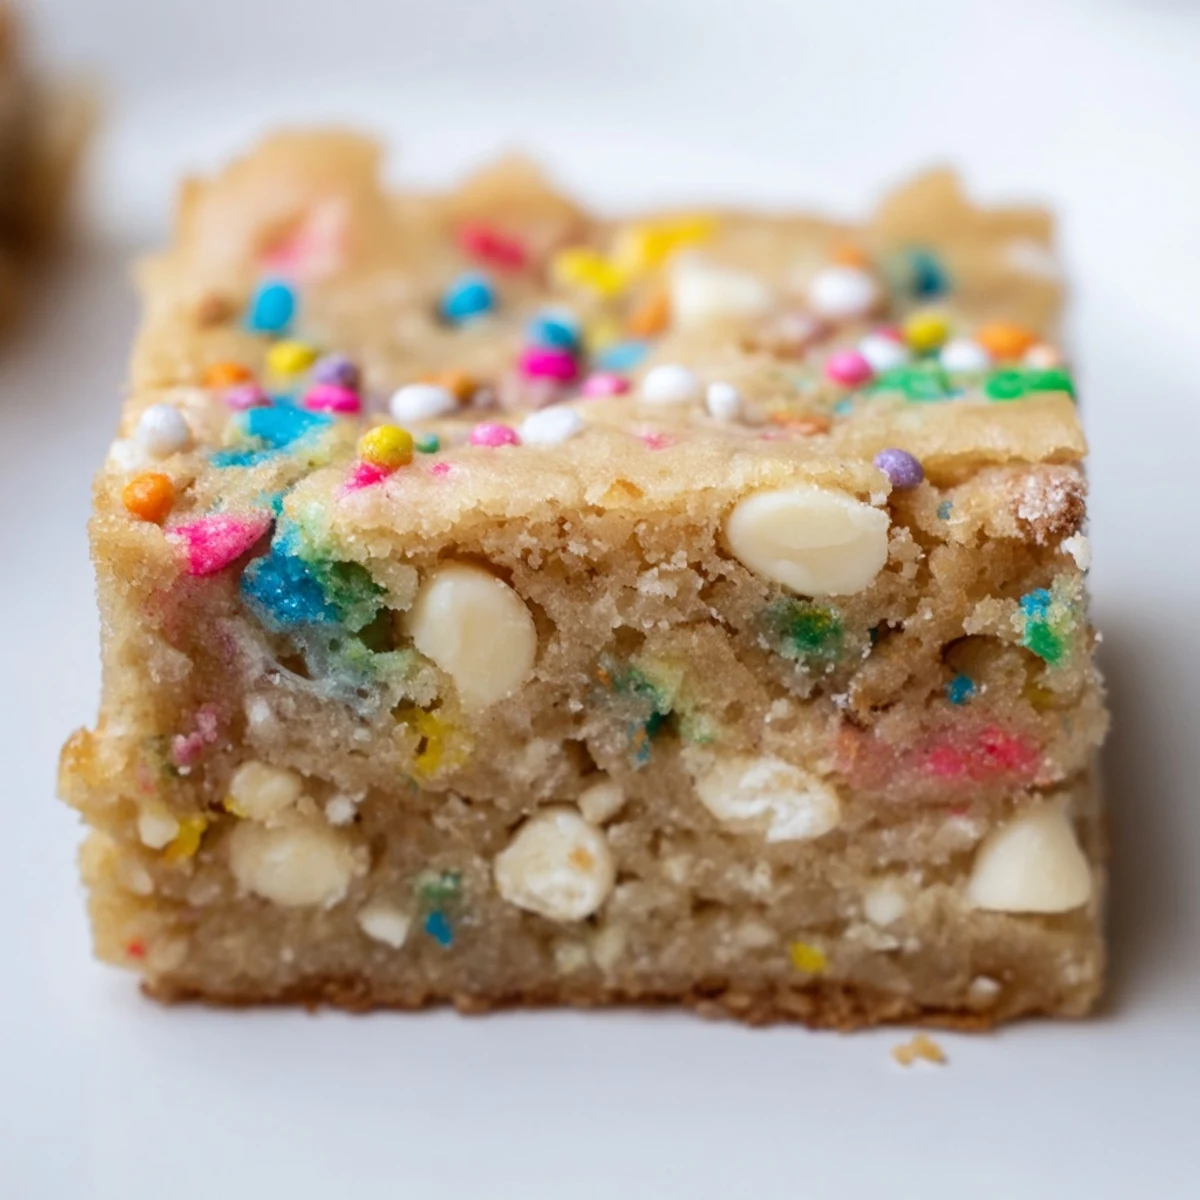
 These cheerful spring blondies feature a rich, buttery base loaded with rainbow sprinkles throughout. The texture is perfectly dense yet tender with slightly crispy edges and a soft center. White chocolate chips add creamy sweetness that complements the festive sprinkles. Simple to prepare with just 15 minutes of prep time, these treats are ideal for Easter, baby showers, birthday parties, or anytime you need a colorful dessert. The batter comes together quickly in one bowl, and the result is 16 squares of pure spring joy.
My youngest niece discovered sprinkles last spring and suddenly every baking session became a negotiation about how many rainbow bits were legally allowed in a single pan. These funfetti blondies became our compromise after she declared regular brownies too boring for her sixth birthday party. Now they are the official harbinger of warm weather in our kitchen, appearing whenever the calendar suggests sunshine might actually return.
I made three batches during marathon birthday prep weekend because the first two disappeared before the party even started. My partner kept accidentally walking past the cooling rack and somehow a blondie ended up in his hand every single time. By the third batch I learned to hide a few for myself before anyone else caught wind that baking was underway.
Ingredients
- 1 1/2 cups (190 g) all-purpose flour: The foundation that holds everything together without making these taste like cake
- 1/2 teaspoon baking powder: Just enough lift to keep them from being dense but still true to their blondie nature
- 1/2 teaspoon salt: Crucial for balancing all that sugar and letting the butter shine through
- 1/2 cup (115 g) unsalted butter, melted and slightly cooled: The flavor engine of the entire operation
- 1 cup (200 g) light brown sugar, packed: Creates that signature caramel undertone and chewy texture
- 1 large egg plus 1 large egg yolk: The yolk is the secret weapon for extra richness and tenderness
- 2 teaspoons pure vanilla extract: Do not skimp here because vanilla carries all the other flavors
- 1/2 cup (90 g) white chocolate chips: Optional but highly recommended for creamy pockets throughout
- 1/2 cup (80 g) rainbow sprinkles: Use jimmies not nonpareils because the tiny balls bleed into your batter
Instructions
- Get your oven ready:
- Preheat to 350°F (175°C) and line an 8x8-inch baking pan with parchment paper leaving those little wings hanging over the sides because you will want to lift the whole thing out later like a treasure.
- Whisk the dry team:
- In a medium bowl combine the flour baking powder and salt then set it aside while you work on the buttery business.
- Build the sweet base:
- Whisk melted butter and brown sugar in a large bowl until the mixture turns glossy and looks like caramel sauce.
- Add the wet ingredients:
- Beat in the whole egg plus that precious extra yolk and all the vanilla until everything is smooth and incorporated.
- Gentle folding time:
- Slide the dry ingredients into the wet mixture and fold with a spatula until just combined because overmixing makes tough blondies and nobody wants that.
- Make them festive:
- Fold in the white chocolate chips if you are using them and most of the sprinkles but save a tablespoon for the top because that visible confetti makes people happy before they even take a bite.
- Spread and decorate:
- Level the batter into your prepared pan and scatter those remaining sprinkles across the surface like you are tucking them in for their nap.
- Bake until just right:
- Slide into the oven for 23 to 26 minutes until the edges are set and a toothpick in the center comes out with a few moist crumbs because slightly underbaked is always better than dry.
- The hardest part:
- Let them cool completely in the pan on a wire rack then lift using those parchment handles and cut into 16 squares.
 Bookmark
 These became our go-to contribution for every spring potluck after my neighbor requested them for her daughters garden birthday party. Something about spotting those colorful flecks through the clear container lid makes people smile before they even reach for a square.
Making Them Your Own
Swapping white chocolate for chopped pecans adds wonderful crunch and makes them feel a bit more grown up for office gatherings. Sometimes I fold in dried tart cherries instead of chips when I want something that feels slightly more sophisticated but still cheerful.
The Butter Upgrade
Browning your butter before adding it to the sugar creates these amazing toffee notes that make people ask what your secret ingredient is. Just cook it until those milk solids turn golden brown and your kitchen smells like a caramel factory then pour it carefully into your bowl.
Sprinkle Strategy
Pastel sprinkles turn these into an instant Easter dessert while red white and blue ones become perfect for Memorial Day. I keep a stash of different color combinations in the pantry so we are always ready for whatever celebration life throws at us.
- Check your sprinkles label to make sure they do not contain gelatin if you need these to be strictly vegetarian
- Press a few extra sprinkles into the top right after baking if you want them really prominent
- Store these in an airtight container and they actually get better on day two
 Bookmark
 There is something impossibly cheering about pulling a pan of these out of the oven and seeing all those colors peeking through the golden top. Hope they bring as much joy to your kitchen as they have to ours.
Recipe FAQs
- → What type of sprinkles work best for these blondies?
-
Use jimmies (the long cylindrical sprinkles) rather than nonpareils (the tiny ball sprinkles). Nonpareils can bleed color into the batter and create a grayish tint. Jimmies hold their color beautifully during baking. Pastel sprinkles give an extra springtime feel, but classic rainbow sprinkles work perfectly too.
- → How do I know when the blondies are done baking?
-
The edges should look set and slightly golden, while the center may still appear slightly soft. A toothpick inserted in the center should come out with a few moist crumbs but not wet batter. The blondies will continue to set as they cool, so don't overbake or they'll lose their fudgy texture.
- → Can I make these blondies ahead of time?
-
Absolutely! Store cooled blondies in an airtight container at room temperature for up to 4 days. They actually taste better the next day as the flavors develop. You can also freeze them for up to 3 months—wrap individual squares in plastic wrap and place in a freezer bag. Thaw at room temperature before serving.
- → Why use both egg and egg yolk?
-
The extra egg yolk adds richness and creates a denser, more fudgy texture. Whole eggs alone would make the blondies more cake-like, while the additional yolk ensures that perfect chewy, moist interior that makes blondies irresistible. This combination gives you the best of both worlds.
- → Can I use salted butter instead of unsalted?
-
Yes, you can use salted butter—just reduce the added salt in the dry ingredients to 1/4 teaspoon. The blondies will still turn out delicious, though using unsalted butter gives you more control over the final salt level. If you're a fan of salty-sweet combinations, you might even prefer the salted butter version.
- → What's the best way to cut these blondies?
-
Let them cool completely in the pan before cutting—this is crucial for clean edges. Use the parchment paper overhang to lift the entire slab out onto a cutting board. A sharp knife wiped clean between cuts will give you the neatest squares. For extra precision, you can chill them in the refrigerator for 30 minutes before slicing.
