 Bookmark
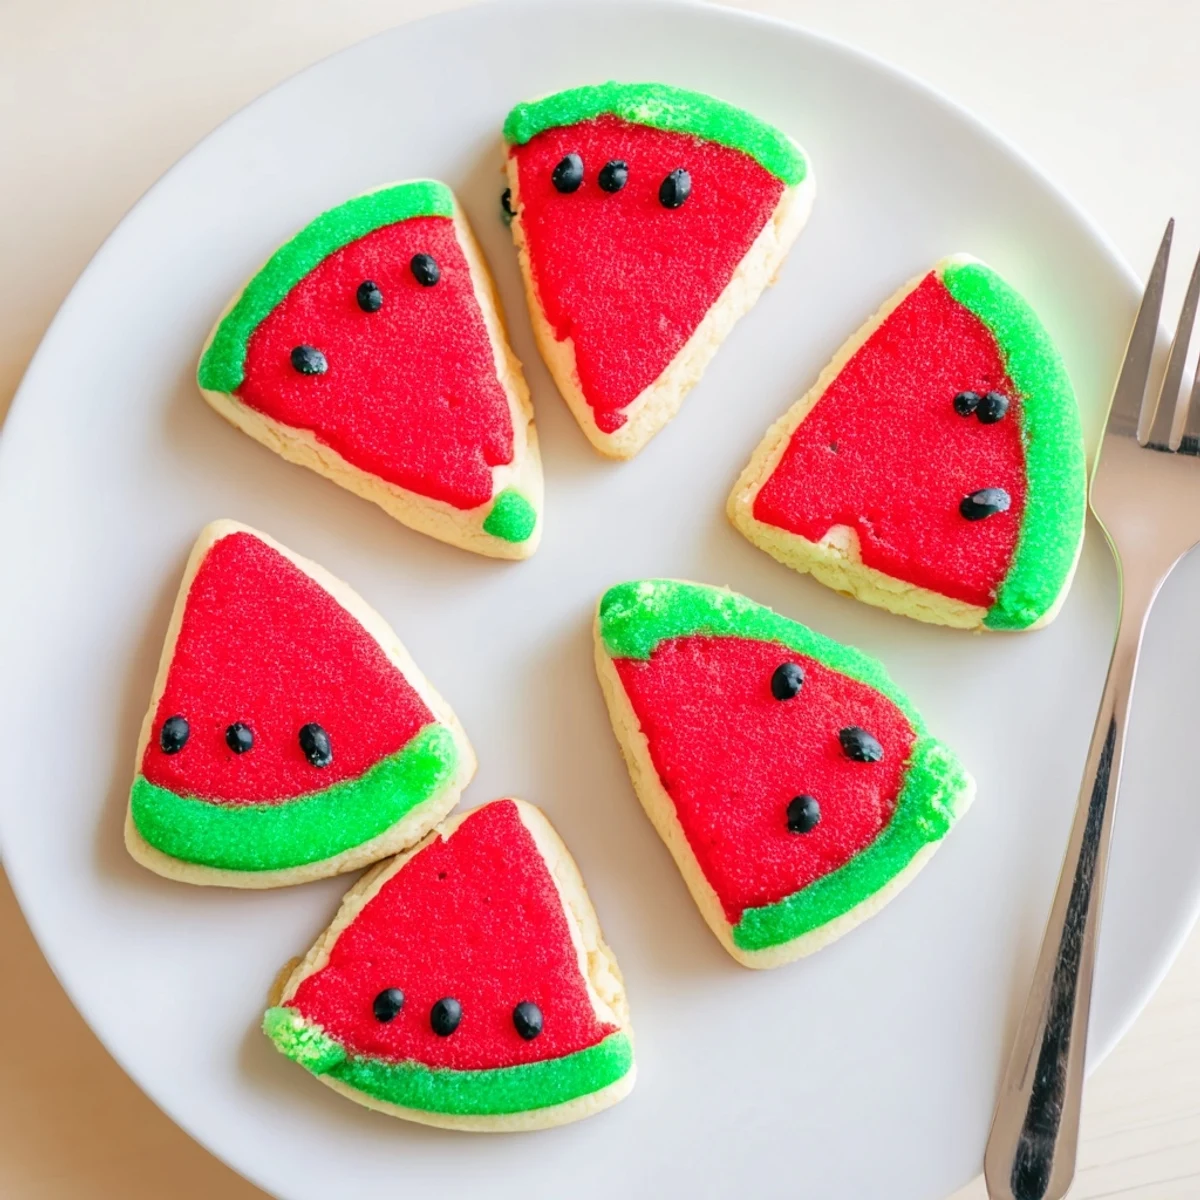
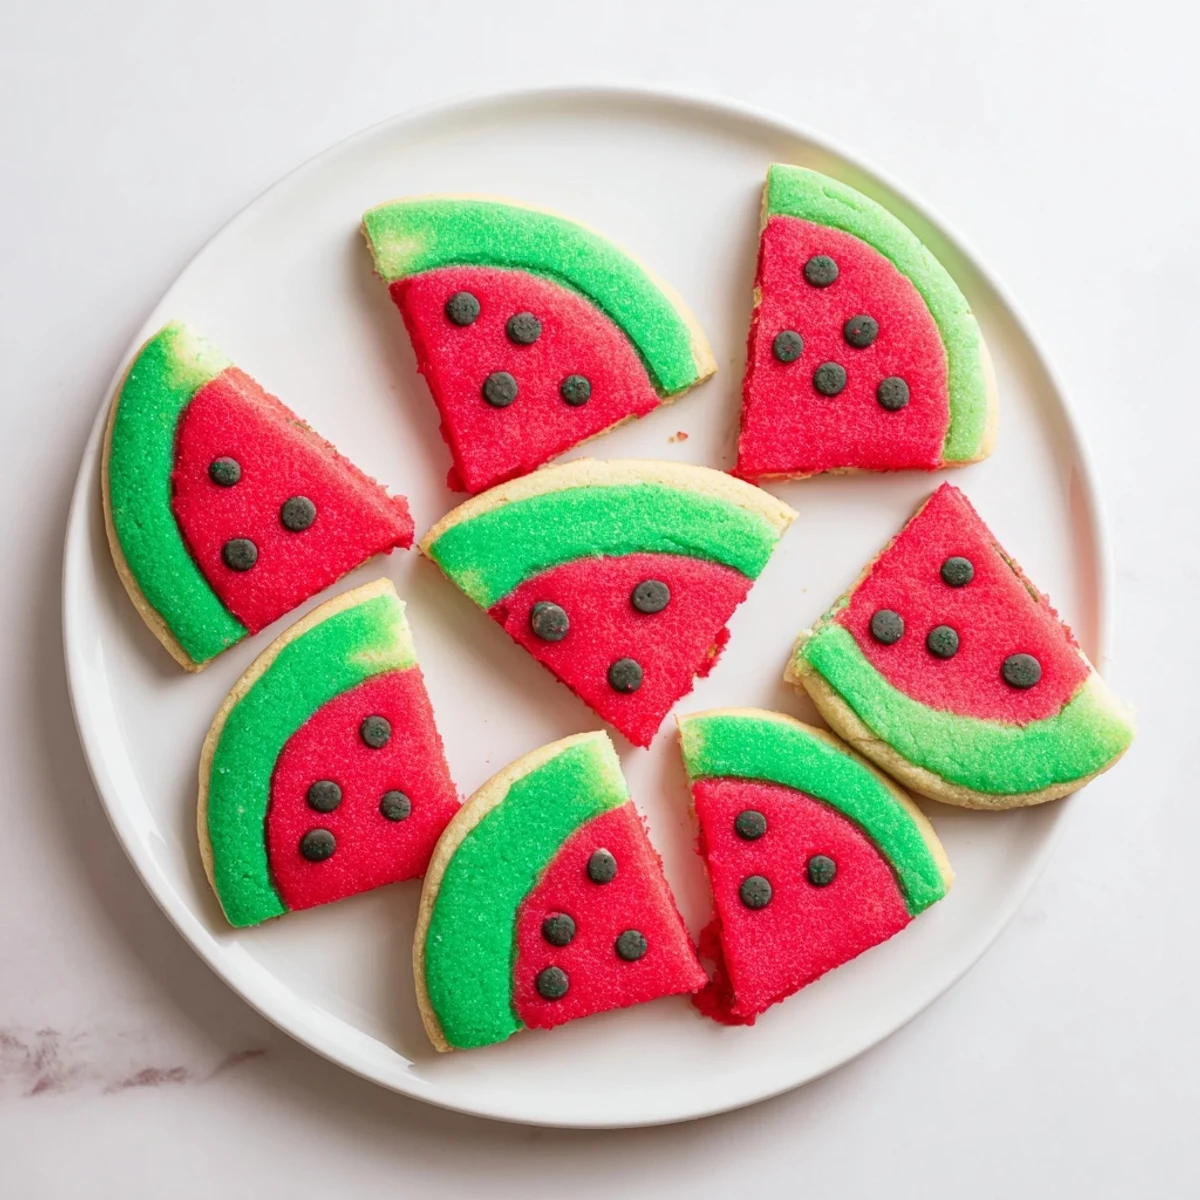
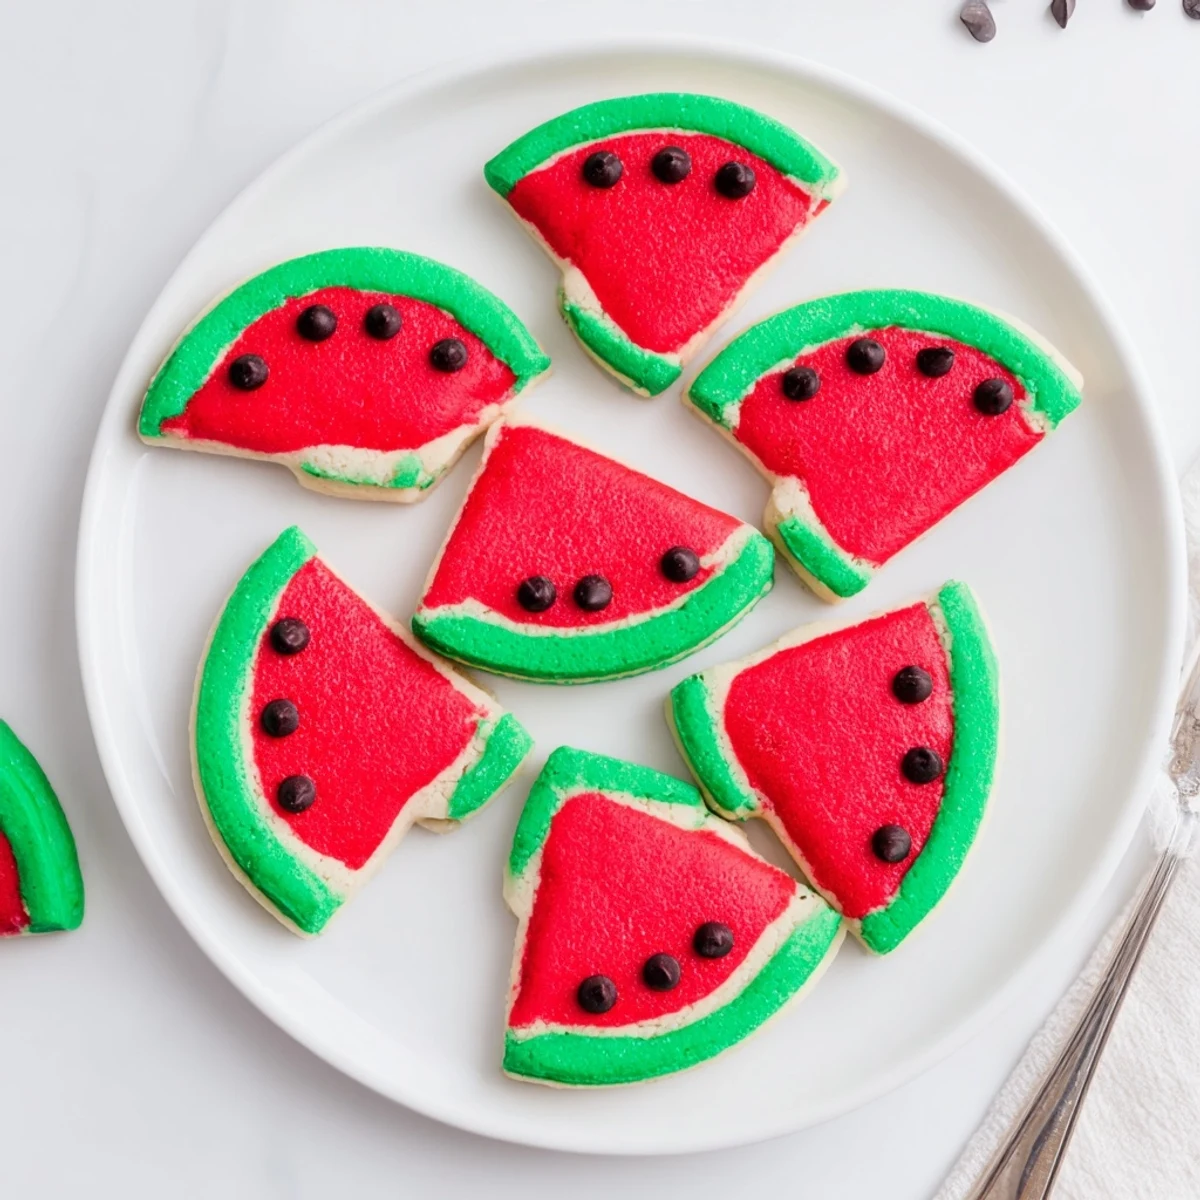
 Create adorable slice-shaped treats that look just like everyone's favorite summer fruit. These vibrant, two-toned cookies feature a bright red center surrounded by a green rind, complete with mini chocolate chip seeds for authentic detail. Perfect for warm weather gatherings, children's celebrations, or whenever you want to add whimsical charm to your baking repertoire. The straightforward process involves tinting portions of dough, rolling them into a log, then slicing to reveal the charming cross-section design.
My daughter burst into the kitchen last July with watermelon juice dripping down her chin, asking if we could make cookies that looked just like her favorite summer fruit. I'd never attempted anything like it, but her wide eyes convinced me to experiment. That afternoon we covered the kitchen counter in flour and red food coloring, learning that sometimes the messiest projects become the sweetest memories.
Last summer I brought these to a neighborhood potluck and watched grown adults light up like children. Someone actually asked where I'd found miniature watermelons before realizing they were cookies. Now every time I see that bright red and green combination, I think of laughter around a picnic table and sticky fingers reaching for just one more.
Ingredients
- All-purpose flour: The foundation that gives these cookies their perfect tender crumb
- Baking powder and salt: Just enough lift and balance to make them melt in your mouth
- Unsalted butter: Room temperature is non negotiable for that smooth creamy dough
- Granulated sugar: Sweetens without overpowering the playful colors
- Large egg: Binds everything together into a workable dough
- Vanilla and almond extract: The almond adds something special but pure vanilla works beautifully too
- Gel food coloring: Gel gives you those vibrant watermelon colors without adding extra liquid
- Mini chocolate chips: These become the most convincing little seeds you've ever seen
Instructions
- Whisk the dry foundation:
- In a medium bowl, combine the flour, baking powder, and salt until everything is evenly distributed. This small step prevents overmixing later and ensures tender cookies every single time.
- Cream the butter and sugar:
- Beat the butter and sugar until the mixture turns pale and fluffy, which usually takes about 3 minutes. Add the egg and extracts, mixing just until combined.
- Combine and divide:
- Gradually mix in the dry ingredients until a soft dough forms, then split it into two portions with about twice as much for the red center. This ratio creates that authentic watermelon wedge shape.
- Add the colors:
- Knead red gel coloring into the larger portion and green into the smaller piece until both are vibrantly colored throughout. Wear gloves unless you want rainbow hands for the next two days.
- Form the watermelon log:
- Roll the red dough into a 10 inch log, then roll the green into a rectangle and wrap it around the outside like a rind. Press gently to seal without squishing the shape.
- Chill thoroughly:
- Wrap the log tightly in plastic and refrigerate for at least one hour, though overnight is even better. This firm dough is impossible to slice neatly when it's soft and warm.
- Preheat and slice:
- Heat your oven to 350°F and line baking sheets with parchment. Cut the log into quarter inch rounds and slice each round in half to create those iconic watermelon wedges.
- Add the seeds and bake:
- Press mini chocolate chips into the red portion of each cookie, then bake for 8 to 10 minutes until set but not browned. Let them cool on the sheet for a few minutes before moving them.
 Bookmark
 My niece helped me make a batch last December and we ate them while watching Christmas movies, the bright summer colors feeling wonderfully out of season. Sometimes the best baking moments are the ones that break all the rules and create their own little holidays.
Getting The Colors Right
Gel food coloring is absolutely worth seeking out for this recipe because liquid coloring would throw off the dough consistency completely. Start with less than you think you need and build up the intensity, remembering that the colors will deepen slightly as the dough chills.
Working With The Dough Log
If the green dough starts cracking while you wrap it around the red center, gently press and smooth it with warm fingers. The key is working with confidence but not rushing, letting the warmth of your hands help the dough become pliable enough to cooperate.
Storage And Make Ahead Tips
The dough log keeps beautifully in the freezer for up to three months, wrapped tightly in plastic and then foil. You can slice and bake straight from frozen, adding just a minute or two to the baking time, which means fresh cookies are always possible at a moment's notice.
- These cookies actually taste better after resting for a day, so feel free to bake them in advance
- Store them between layers of wax paper to prevent the colors from transferring
- Package them in clear cellophane bags tied with green ribbon for the perfect summer party favor
 Bookmark
 There's something genuinely joyful about biting into a cookie that looks like one of summer's simplest pleasures. Make these with someone you love, because that's really the secret ingredient.
Recipe FAQs
- → How long should I chill the dough log?
-
Refrigerate the wrapped dough for at least 1 hour until firm enough to slice cleanly without losing shape. You can chill overnight for better handling.
- → Can I make these ahead of time?
-
Absolutely. The dough log can be prepared and frozen for up to 3 months. Slice and bake when needed, or store finished treats in airtight containers.
- → What other colors work for this technique?
-
Try orange and white for citrus slices, or yellow and pink for grapefruit. The rolling method works beautifully with any color combination.
- → Why aren't my slices holding their shape?
-
The dough likely needs more chilling time. A firm log cuts cleanly and maintains the round shape during baking. If soft, return to refrigerator for 30 minutes.
- → Can I use natural food coloring?
-
Yes, though colors may be less vibrant. Beet juice works well for red, while matcha or spirulina creates green. Gel colorants typically produce the most intense hues.
