 Bookmark
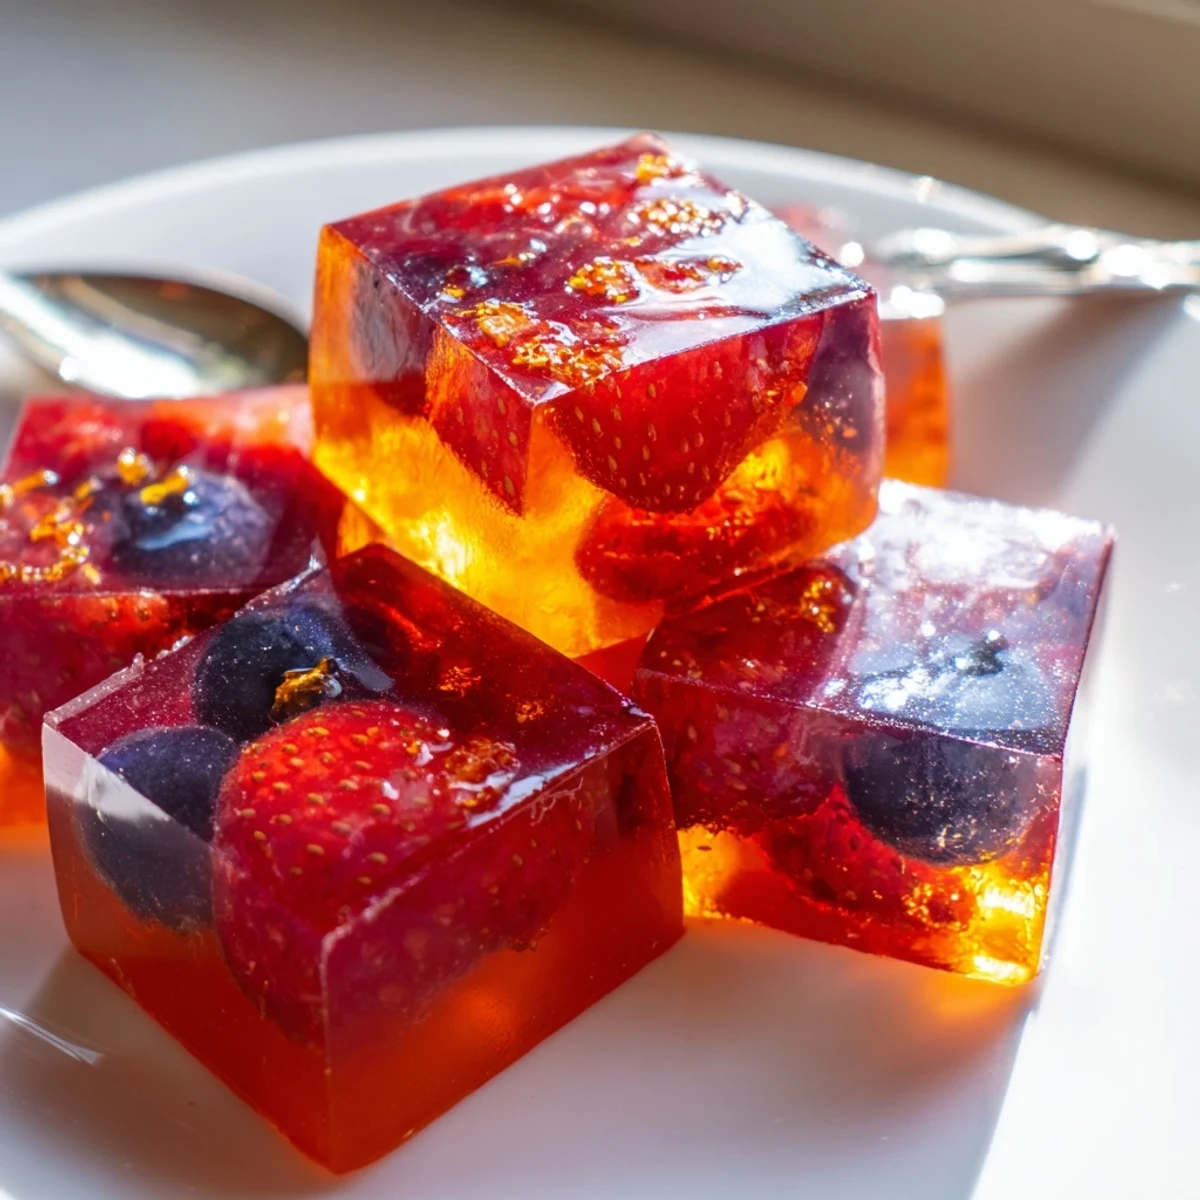
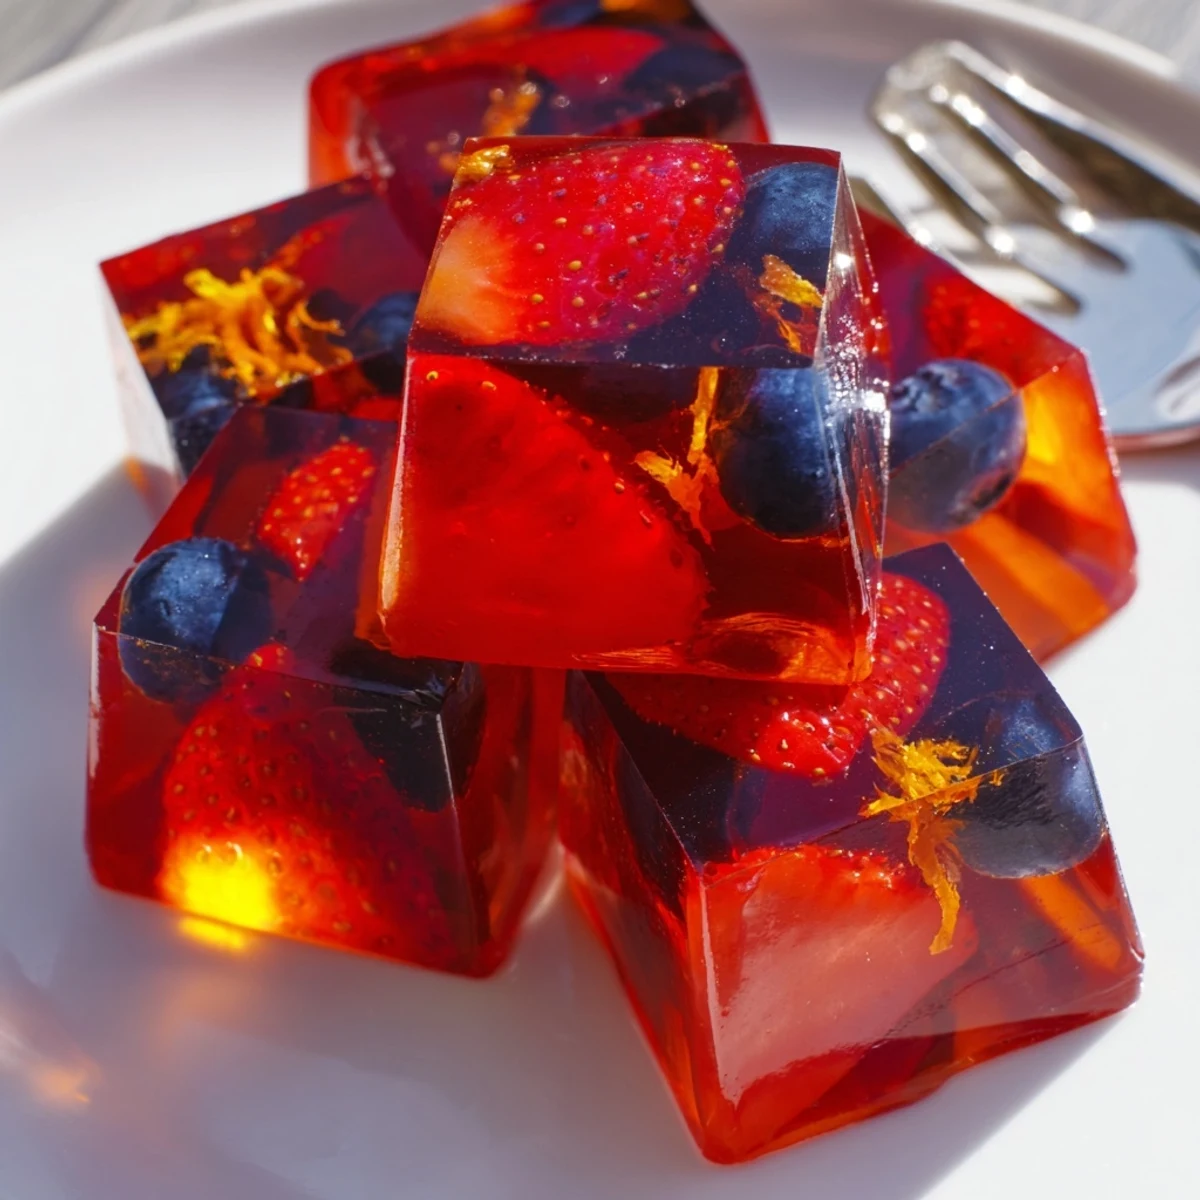
 These collagen fruit jellies combine pure fruit juice with collagen peptides and a touch of honey for a wholesome, protein-rich snack. Ready in under 15 minutes of active prep, they set in the fridge and yield 16 satisfying bites.
Gluten-free and low in carbs, they're ideal for mindful snacking or a light dessert. Customize with your favorite juice and fresh berries for endless flavor variations.
My kitchen counter looked like a science experiment gone delightfully wrong the afternoon I discovered collagen fruit jellies. Bright purple berry juice had splashed across the cutting board, gelatin powder dusted my favorite apron, and my daughter kept sneaking spoonfuls of the warm liquid before it even set. What started as a rainy Saturday project turned into the snack we now make every single week without fail.
I packed a batch of these in my friends lunch bag last winter and got a text within the hour demanding the recipe. She had been buying expensive collagen gummies from the health food store and could not believe something this good came from her own kitchen.
Ingredients
- Pure fruit juice (1 cup): Use 100 percent juice with no added sugar, and pick a flavor you genuinely enjoy because it dominates the taste. Berry blends and orange juice are my top choices.
- Lemon juice (2 tablespoons): This adds a brightness that keeps the jellies from tasting flat and helps the gelatin set properly.
- Collagen peptides powder (2 tablespoons): High quality unflavored collagen dissolves invisibly and adds a subtle protein boost without changing the texture.
- Honey or maple syrup (2 tablespoons): Adjust based on how sweet your juice is. Taste as you go because too much sweetness masks the fruit flavor.
- Unflavored powdered gelatin (2 and a half tablespoons): This is the backbone of the recipe. Do not skip the blooming step or you will get lumps.
- Vanilla extract (1 teaspoon, optional): A small splash rounds out the flavors beautifully, especially with berry or apple juice.
- Sliced fresh berries or citrus zest (optional): For garnish and a lovely presentation inside each jelly.
Instructions
- Bloom the gelatin:
- Pour the fruit juice and lemon juice into a small saucepan, then sprinkle the gelatin evenly across the surface. Walk away for three to five minutes while it absorbs the liquid and looks wrinkled on top.
- Warm and dissolve:
- Set the pan over low heat and stir gently with a whisk until every last bit of gelatin disappears into the liquid. Keep the heat low because boiling will weaken the setting power.
- Add the good stuff:
- Take the pan off the heat and stir in the collagen powder, honey or maple syrup, and vanilla extract if you are using it. Keep stirring until you see no clumps and the mixture looks smooth and glossy.
- Taste and adjust:
- Dip a clean spoon in and decide if it needs more sweetness. This is your last chance to fix it before it sets.
- Pour into molds:
- Carefully pour the liquid into silicone jelly molds or a lightly oiled square baking dish lined with parchment paper. If you are adding berries or zest, press them into each mold now.
- Chill until set:
- Refrigerate for at least two hours. You will know they are ready when the top feels firm and bouncy to the touch.
- Unmold and serve:
- Pop the jellies out of the silicone molds or cut the sheet into neat squares if you used a pan. Serve them chilled and watch them disappear fast.
 Bookmark
 The first time I served these at a family dinner my mother in law assumed they were store bought and could not hide her surprise when I said I made them that morning.
Choosing the Right Juice
Fresh pressed juice gives the brightest flavor, but a good quality store bought bottle works just as well. Avoid anything labeled as a juice drink or cocktail because those contain added sugars and fillers that interfere with the texture. Mixed berry and tart cherry are crowd favorites at my house.
Storage That Actually Works
Keep the jellies in an airtight container in the refrigerator and they will hold their texture for up to five days. Lay them in a single layer if possible because stacking makes them stick together in unattractive ways. They do not freeze well so make only what you will eat within the week.
Getting Creative With Flavors
Once you master the basic recipe the variations are endless and that is where the real fun begins.
- Layer two different juice flavors by pouring the first color halfway, chilling until set, then adding the second color on top.
- A tiny pinch of sea salt stirred in at the end enhances sweetness without adding any sugar.
- Always taste your juice mixture before pouring it into the molds because fixing it afterward is impossible.
 Bookmark
 These little jellies turned my afternoon snack routine into something I actually look forward to, and I hope they bring the same simple joy to your kitchen.
Recipe FAQs
- → Can I use any type of fruit juice for these jellies?
-
Yes, any 100% pure fruit juice works well. Orange, berry, apple, or a blend all produce delicious results. Avoid juices with added sugar or preservatives for the cleanest flavor and best setting.
- → Why is collagen added to fruit jellies?
-
Collagen peptides dissolve seamlessly into the warm liquid and add a boost of protein without altering taste or texture. Each serving delivers about 5 grams of protein, making these jellies a more nourishing option than standard gelatin snacks.
- → How long do homemade fruit jellies last in the fridge?
-
Stored in an airtight container, these jellies stay fresh for up to 5 days refrigerated. Their texture remains firm and pleasant throughout, making them great for weekly meal prep.
- → Can I make a vegan version of these jellies?
-
Absolutely. Replace both the gelatin and collagen with 2½ tablespoons of agar agar powder. The texture will be slightly firmer and the nutritional profile changes, but the result is still a delightful fruit jelly.
- → Do I need special molds to shape the jellies?
-
Silicone molds create fun shapes and make removal easy, but a simple lined square baking dish works just as well. Once set, cut the slab into neat squares or rectangles with a sharp knife.
- → Why must the gelatin bloom before heating?
-
Blooming allows the gelatin granules to absorb liquid evenly, preventing clumps and ensuring a smooth, uniform set. Sprinkle it over the cold juice surface and wait 3 to 5 minutes before applying gentle heat.
