 Bookmark
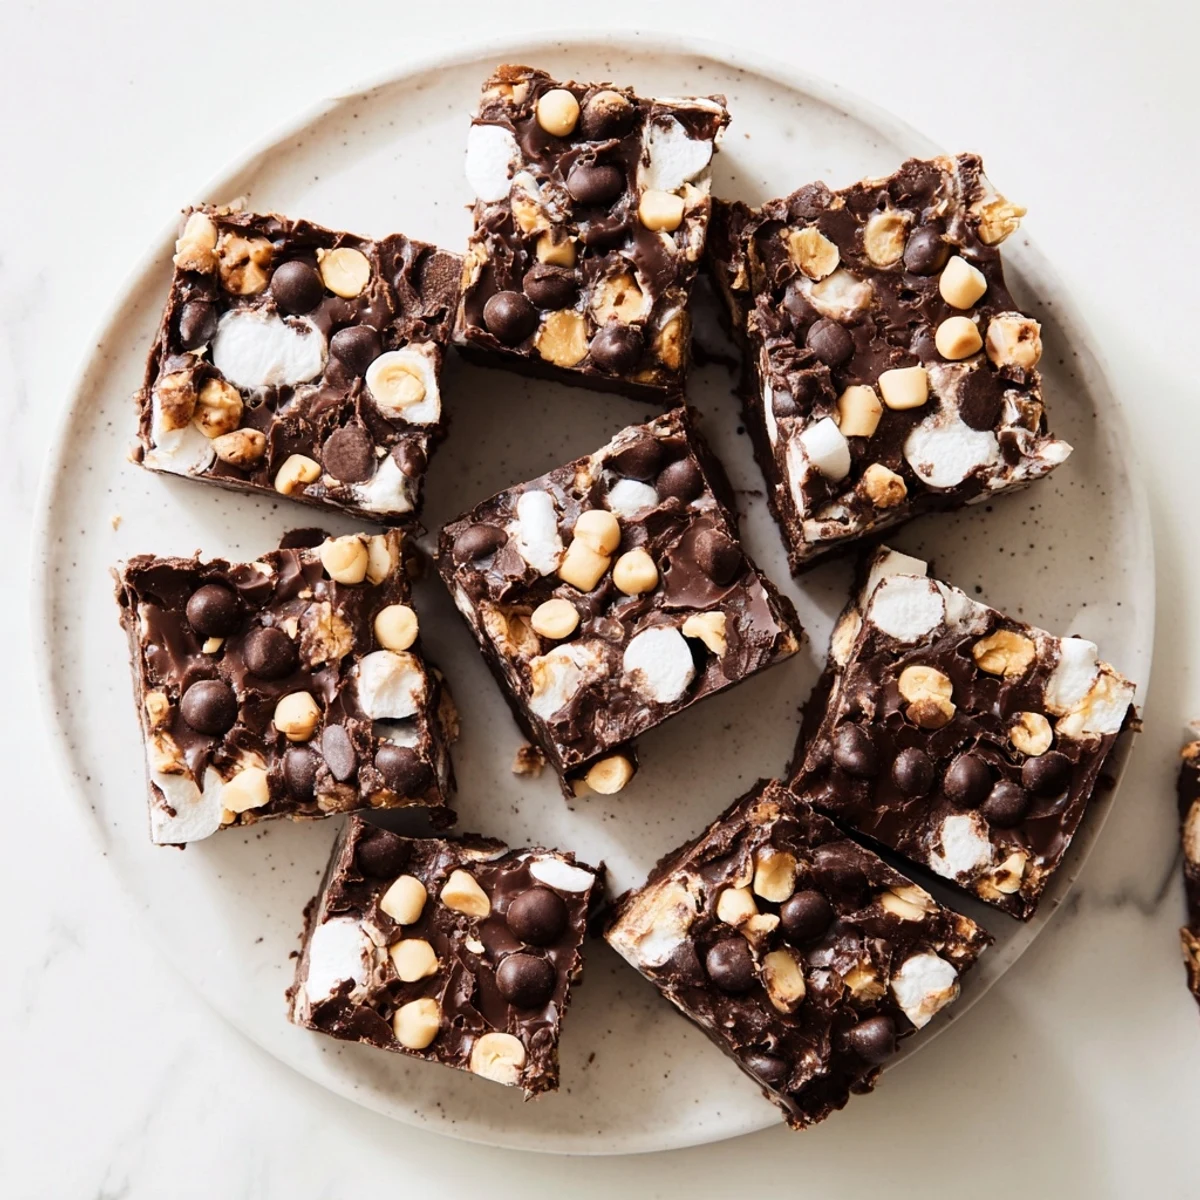
 This indulgent rocky road fudge combines melted chocolate with sweetened condensed milk for an incredibly smooth base, then gets loaded with mini marshmallows, roasted peanuts, and extra chocolate chips. The result is a perfectly balanced sweet treat with creamy, crunchy, and chewy textures in every bite. Best of all, it requires only 10 minutes of prep before chilling to set.
The smell of melting chocolate still takes me back to my first apartment, where I discovered that fudge was actually one of the easiest desserts to make. My roommate walked in just as I was folding in the marshmallows and immediately grabbed a spoon. We ended up eating half the batch straight from the pan while it was still warm.
Last Christmas, I made three batches of this fudge—classic, peanut butter swirl, and mint chocolate—and the rocky road disappeared first. My dad actually hid the last piece in the back of the fridge so he could have it with his morning coffee. Now it is not officially the holidays until a batch shows up on the dessert table.
Ingredients
- 2 cups semi-sweet chocolate chips: The backbone of your fudge, providing that deep chocolate flavor we all crave
- 1 can sweetened condensed milk: This magical ingredient creates the creamy, smooth texture without needing a candy thermometer
- 2 tablespoons unsalted butter: Adds richness and helps the fudge set properly
- 1 ½ cups mini marshmallows: They stay soft and gooey even after chilling, creating those classic fluffy pockets
- 1 cup roasted unsalted peanuts or walnuts: Roughly chopped for satisfying crunch throughout every bite
- ½ cup milk chocolate chips: Optional but adds extra texture and pockets of sweetness
Instructions
- Prepare your pan:
- Line an 8x8-inch baking pan with parchment paper, letting the edges hang over the sides like handles. This will make lifting the fudge out later so much easier.
- Melt the chocolate base:
- Combine the chocolate chips, sweetened condensed milk, and butter in a medium saucepan over low heat. Stir constantly until everything melts into a smooth, glossy mixture, then remove it from the heat immediately.
- Fold in the mix-ins:
- Let the chocolate cool for just 2 to 3 minutes so the marshmallows do not melt. Gently fold in the marshmallows, nuts, and milk chocolate chips until they are evenly distributed.
- Chill until set:
- Pour the mixture into your prepared pan and smooth the top with a spatula. Refrigerate for at least 2 hours until the fudge is completely firm.
- Cut and serve:
- Use the parchment paper to lift the fudge out of the pan, then cut it into 16 squares with a sharp knife. Store any leftovers in the refrigerator.
 Bookmark
 My niece asked if she could help make fudge for her school bake sale, and I watched her carefully fold in each ingredient with such concentration. She told me it was the most important thing she had ever made, especially when she saw how quickly people bought it at the sale.
Make It Your Own
I have experimented with countless variations over the years. Dark chocolate creates a sophisticated version that adults love. White chocolate chips with dried cranberries and pistachios makes a gorgeous holiday fudge. The base recipe is so forgiving that almost any combination works.
Storage Secrets
Fudge keeps beautifully in the refrigerator for up to a week, though it rarely lasts that long in my house. I wrap individual squares in wax paper and store them in an airtight container. You can also freeze fudge for up to three months—just thaw it in the refrigerator overnight.
Perfect Presentation
For gift-giving, I cut the fudge into small squares and place each one in a miniature paper cup. Stack them in a clear treat box tied with a ribbon. The presentation looks professional but takes only minutes. A simple dusting of powdered sugar over the top adds an elegant finishing touch.
- Use a hot knife to cut perfectly clean slices
- Add a sprinkle of sea salt on top before chilling for a sweet-salty contrast
- Press extra marshmallows and nuts on the surface for a beautiful presentation
 Bookmark
 There is something deeply satisfying about creating such an indulgent treat with so little effort. Every time I see that first square disappear, I remember why this recipe earned its permanent place in my collection.
Recipe FAQs
- → How long does rocky road fudge need to chill?
-
Refrigerate the fudge for at least 2 hours until completely firm. For best results, let it chill overnight so it sets fully and cuts cleanly into squares.
- → Can I make rocky road fudge without nuts?
-
Absolutely. Simply omit the nuts and add extra marshmallows or dried fruit like cranberries and cherries. The fudge will still be delicious and hold its shape perfectly.
- → What type of chocolate works best for fudge?
-
Semi-sweet chocolate chips provide the ideal sweetness level, but you can substitute dark chocolate for a richer, more intense flavor. Milk chocolate makes it sweeter while white chocolate creates a creamy variation.
- → How should I store rocky road fudge?
-
Keep the fudge in an airtight container in the refrigerator for up to one week. You can also freeze it for up to 3 months—wrap individual squares in plastic wrap and place in a freezer-safe bag.
- → Why did my fudge turn out grainy?
-
Grainy texture usually comes from overheating the chocolate or using high heat. Always melt chocolate over low heat and stir constantly. If the chocolate seizes, adding a teaspoon of vegetable oil can help smooth it out.
- → Can I use homemade marshmallows instead of store-bought?
-
Homemade marshmallows work wonderfully and add an extra special touch. Just cut them into small, uniform pieces before folding into the warm chocolate mixture so they distribute evenly throughout.
