 Bookmark
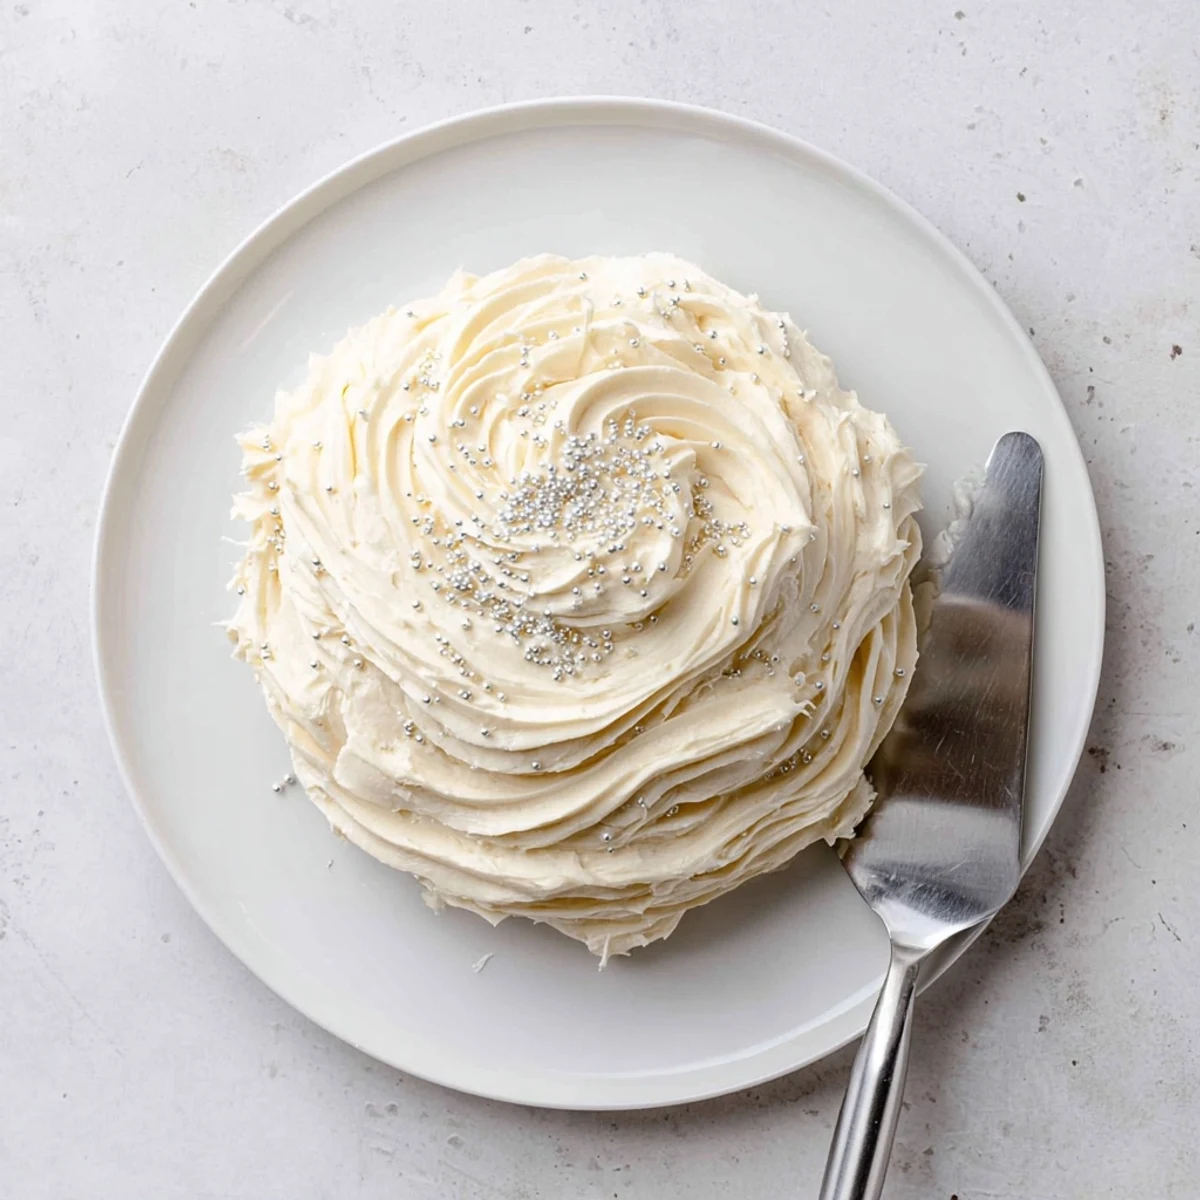
 This luscious vanilla buttercream whips up in just 10 minutes, creating the perfect creamy topping for sugar cookies. The frosting spreads smoothly while maintaining its shape, then develops a delicate slight crust that helps decorations stay in place. Simply beat softened butter with powdered sugar, milk, and vanilla until light and fluffy—adjust the consistency with more milk for spreading or extra sugar for piping. The finished coating stays soft enough to bite through while holding its beautiful form.
My daughter and I discovered this frosting during a rainy Sunday afternoon when we had an unexpected batch of baked sugar cookies and absolutely no motivation to run to the store. We whisked it together between board games and homework, and the way it transformed plain cookies into something bakery-worthy made us both stop what we were doing and just admire the swirls. Now it's the only recipe she asks for before every school bake sale, holiday party, or just because Tuesday.
Last December, I made three double batches for classroom holiday parties, and I still had parents messaging me weeks afterward asking for the recipe. My favorite moment was watching my normally picky nephew lick a spoon clean and immediately ask if he could decorate the next batch himself.
Ingredients
- Unsalted butter: Room temperature is non-negotiable here, cold butter creates tiny lumps that no amount of mixing can fix
- Powdered sugar: Sifting first saves you so much frustration later, though whisking it through a strainer works in a pinch
- Whole milk: I keep an extra tablespoon nearby because humidity affects how much liquid you need
- Pure vanilla extract: The real stuff matters since it's the primary flavor in such a simple frosting
- Pinch of salt: This tiny addition is what balances all that sugar and keeps it from tasting cloyingly sweet
Instructions
- Whip the butter:
- Beat that softened butter for a full minute until it looks pale and almost glossy, like vanilla ice cream left out too long
- Add the sugar gradually:
- Start on low speed so you don't create a snowstorm of powdered sugar, then scrape down the bowl and beat until fully incorporated
- Bring it together:
- Pour in the milk, vanilla, and salt, then turn up the mixer and watch it transform into fluffy clouds over the next 2 to 3 minutes
- Find your consistency:
- Add milk one teaspoon at a time if you need it thinner for spreading, or more sugar for stiffer piping designs
- Frost and set:
- Work quickly onto completely cooled cookies, then let them sit undisturbed for an hour or two to develop that perfect delicate crust
 Bookmark
 This frosting has become my go-to for everything from topping brownies to filling whoopie pies, but there's something special about watching it on sugar cookies specifically. My grandmother kept a similar recipe on a stained index card in her recipe box, and I like thinking about all the hands that have stirred this exact combination over the years.
Getting The Perfect Texture
I learned the hard way that texture depends entirely on butter temperature and kitchen humidity. On humid summer days, I chill the frosting for 15 minutes before piping to help it hold its shape better. In dry winter months, I often need an extra splash of milk to keep it from becoming too stiff to spread smoothly.
Color And Flavor Variations
Gel food coloring has been a game changer compared to the liquid drops I used for years, giving me those vibrant colors without thinning out the consistency. Sometimes I'll swap the vanilla for almond or lemon extract, or fold in some freeze-dried raspberry powder for a naturally pink frosting that tastes like summer.
Storage And Make-Ahead Tips
This frosting keeps beautifully in the refrigerator for up to a week, though I always bring it back to room temperature and give it a quick whip with the hand mixer before using. I've also frozen it for a month in airtight containers, thawing it overnight in the fridge before bringing it to room temperature and fluffing it back up. Having a batch ready to go means I'm always just ten minutes away from freshly frosted cookies whenever the mood strikes.
- Press a piece of plastic wrap directly onto the surface before refrigerating to prevent a hard skin from forming
- If frosting separates after refrigerating, microwave it for just 5 seconds and beat it again
- Label colored frostings clearly since gel colors can look similar in storage containers
 Bookmark
 Whether you're decorating for a holiday or just making Tuesday feel special, this frosting turns simple cookies into something worth celebrating.
Recipe FAQs
- → How do I make the frosting thicker for piping?
-
Add powdered sugar one tablespoon at a time, mixing thoroughly after each addition, until you reach your desired stiffness. The frosting should hold peaks when lifted with a spatula.
- → Can I use salted butter instead of unsalted?
-
Yes, simply omit the pinch of salt called for in the ingredients. Salted butter works perfectly fine and won't significantly alter the flavor profile.
- → How long does the frosting take to set?
-
Allow frosted cookies to sit at room temperature for 1–2 hours. The surface will develop a light crust while remaining creamy underneath, perfect for stacking or storing.
- → What milk alternatives work in this frosting?
-
Heavy cream creates an even richer texture, while plant-based options like almond milk, oat milk, or coconut milk work well. Keep in mind that non-dairy milks may slightly alter the flavor.
- → How should I store leftover frosting?
-
Keep unused frosting in an airtight container in the refrigerator for up to one week. Before using again, let it reach room temperature and re-whip with an electric mixer to restore fluffiness.
- → Can I make this frosting ahead of time?
-
Absolutely! Prepare the frosting up to three days in advance and store it in the refrigerator. The flavors actually develop better after resting. Just bring to room temperature and re-whip before applying.
