 Bookmark
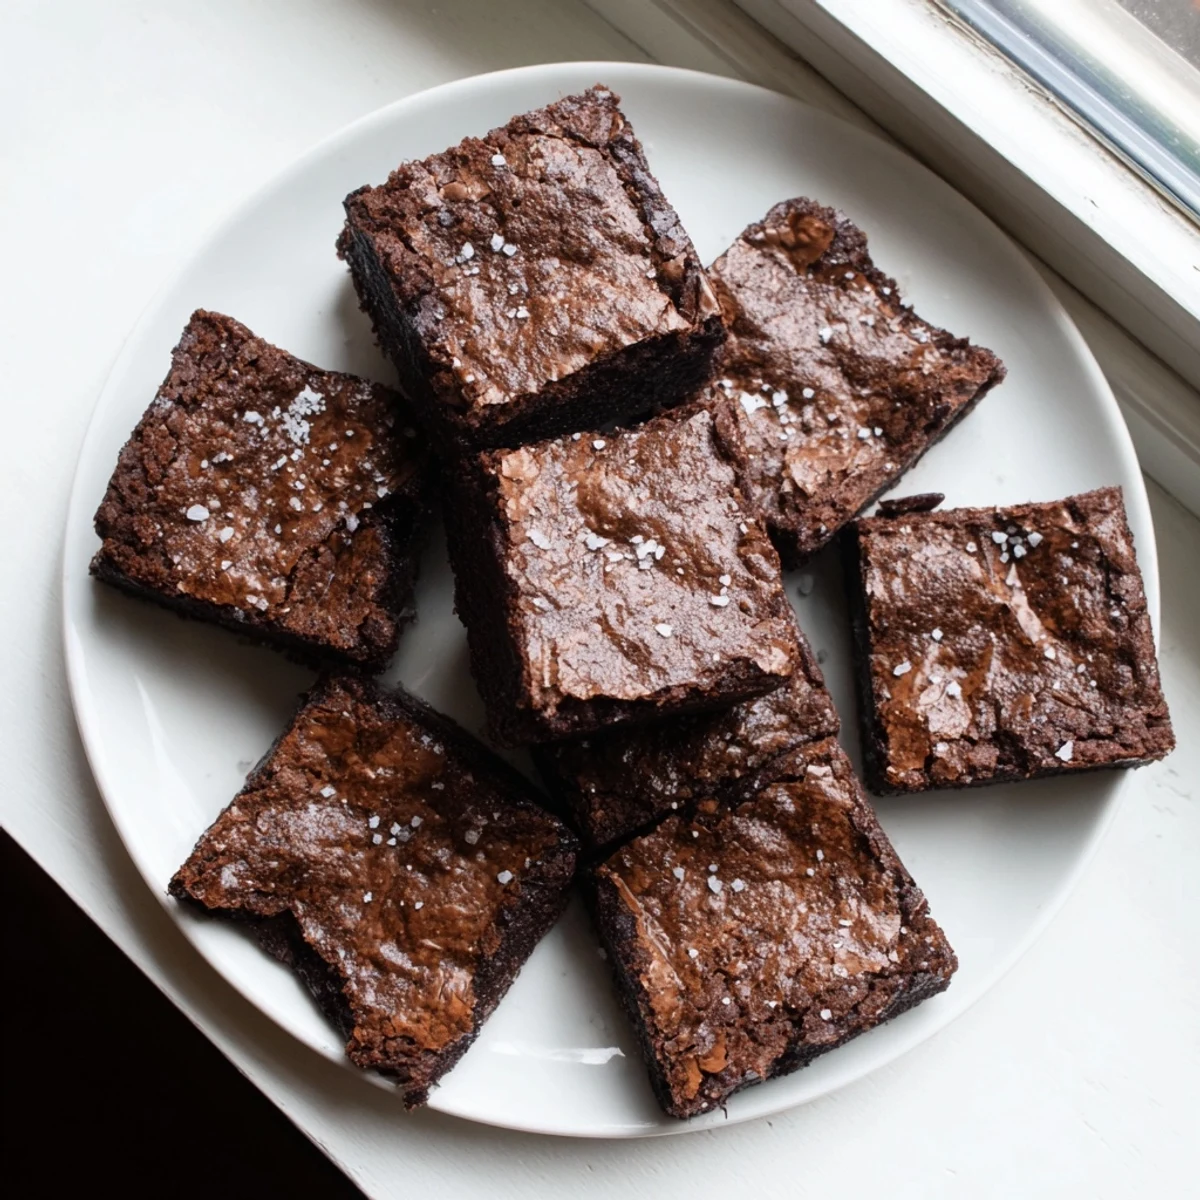
 These fusion treats combine the best of American brownies with Japanese mochi texture. Sweet rice flour creates a signature chewy exterior, while brown butter adds nutty depth to the rich bittersweet chocolate base. The result is an irresistibly fudgy, slightly chewy square that's naturally gluten-free.
The batter comes together quickly—melt butter until golden and fragrant, blend with chopped chocolate, then fold in eggs, sugars, and cream. Sweet rice flour replaces wheat flour entirely, delivering that distinctive mochi bounce. Bake until set with a slight jiggle in the center for ultimate fudginess.
Perfect for chocolate lovers seeking something beyond traditional brownies. The texture is extraordinary—crispy edges, chewy interior, and dense fudgy center. Add flaky sea salt before baking for a sophisticated finish, or serve warm with vanilla ice cream.
The smell of browning butter still takes me back to my tiny apartment kitchen where I accidentally discovered what happens when you let butter go just a bit too far. That golden moment when it shifts from melted to nutty changed everything about how I bake. These brownies came from playing around with mochiko flour during a gluten-free phase that never really ended. Now they are the only brownies anyone asks for.
I brought these to a potluck last winter and watched my friend Sarah take one bite then immediately ask for the recipe before she even swallowed. She said they reminded her of something her grandmother made but could not quite place. Three people texted me the next morning about them. That is when I knew these were not just another brownie recipe.
Ingredients
- Sweet rice flour (mochiko): This creates the signature chewy texture that sets these apart from regular brownies and makes them naturally gluten-free
- Unsweetened cocoa powder: Use a good quality Dutch-processed cocoa for the deepest chocolate flavor possible
- Baking powder: Just enough to give them a little lift without losing that dense fudgy quality
- Kosher salt: Balances the sweetness and intensifies the chocolate flavor
- Unsalted butter: Browning this is the key step that adds all those incredible toasty nutty notes
- Granulated and brown sugar: The combination gives you crackly tops and chewy centers
- Eggs: Room temperature eggs incorporate better and help create that gorgeous shiny top
- Vanilla extract: Pure vanilla makes a difference here since the flavor profile is so simple
- Whole milk and heavy cream: This duo keeps the brownies incredibly moist and fudgy
- Bittersweet chocolate: Chop a good quality bar yourself for the best melting and flavor
Instructions
- Get your oven ready:
- Preheat to 350°F and line an 8x8 pan with parchment letting it hang over the sides like a little sling
- Make the brown butter:
- Melt the butter in a small saucepan over medium heat swirling occasionally until it foams turns golden brown and smells nutty about 4 to 6 minutes then pour it into a large bowl to cool slightly
- Melt the chocolate:
- Add your chopped chocolate to the hot brown butter and stir until completely smooth and glossy
- Add the sugars:
- Whisk in both sugars until everything is well combined and the mixture starts to cool down a bit
- Beat in the eggs:
- Add eggs one at a time whisking really well after each one then stir in the vanilla
- Mix the dry ingredients:
- In a separate bowl whisk together the mochiko cocoa powder baking powder and salt
- Start combining:
- Stir half the dry ingredients into the wet mixture just until no white streaks remain
- Add the liquids:
- Pour in the milk and heavy cream mixing until smooth
- Finish the batter:
- Gently fold in the remaining dry ingredients until just combined do not overmix
- Bake:
- Pour the batter into your prepared pan smooth the top and bake for 40 to 45 minutes until a toothpick comes out with a few moist crumbs
- Cool completely:
- Let them cool completely in the pan before lifting them out and cutting into squares
 Bookmark
 My mom who is usually allergic to anything gluten-free tried these and ate three in one sitting. She kept saying she could not believe they were not regular brownies. Watching her realize that gluten-free does not mean flavor-free was pretty satisfying.
Getting the Texture Just Right
The key to that perfect mochi-brownie hybrid texture is not overmixing the batter once you add the dry ingredients. Think of it like folding in egg whites gentle and patient. Overmixing activates the rice flour too much and you will end up with something closer to cake than the chewy fudge you want.
Making Them Your Own
Once you have the base down these brownies are incredibly forgiving. I have added espresso powder for a mocha version folded in toasted pecans and even swirled in peanut butter. The mochiko base holds up to almost anything you want to throw at it.
Storage and Serving
These actually get better after a day or two as the flavors deepen and the texture settles. Store them in an airtight container at room temperature for up to five days though they never last that long at my house. You can also wrap individual squares and freeze them for up to three months then thaw at room temperature when that brownie craving hits.
- Try warming a square for 10 seconds in the microwave before serving
- A sprinkle of flaky sea salt on top takes these over the top
- They pair beautifully with coffee or a glass of cold milk
 Bookmark
 Every time I make these I am reminded that the best recipes often come from happy accidents and a willingness to try something different. Hope they become a favorite in your kitchen too.
Recipe FAQs
- → What makes these brownies chewy?
-
Sweet rice flour (mochiko) creates the signature chewy, bouncy texture. This glutinous rice flour binds the batter differently than wheat flour, resulting in a delightful mochi-like consistency that's both tender and elastic.
- → Can I substitute regular flour for sweet rice flour?
-
No, sweet rice flour is essential for the mochi texture. Regular flour will result in traditional brownie consistency. Mochiko flour is available in Asian markets and well-stocked grocery stores.
- → Why brown butter instead of melted butter?
-
Brown butter adds a nutty, caramelized flavor that deepens the chocolate profile. The milk solids toast to golden brown, creating complexity that complements the bittersweet chocolate beautifully.
- → How do I know when they're done baking?
-
The edges should be set and slightly pulling away from the pan, while the center may still have a slight jiggle. A toothpick inserted in the center should come out with moist crumbs, not wet batter.
- → Are these completely gluten-free?
-
Yes, sweet rice flour is naturally gluten-free. Always verify your mochiko and chocolate are certified gluten-free if you have celiac disease or severe gluten sensitivity, as cross-contamination can occur during processing.
- → Can I make these dairy-free?
-
Substitute coconut oil or vegan butter for butter, and use plant-based milk and cream alternatives. The texture may vary slightly, but the chewy mochi consistency will remain.
