 Bookmark
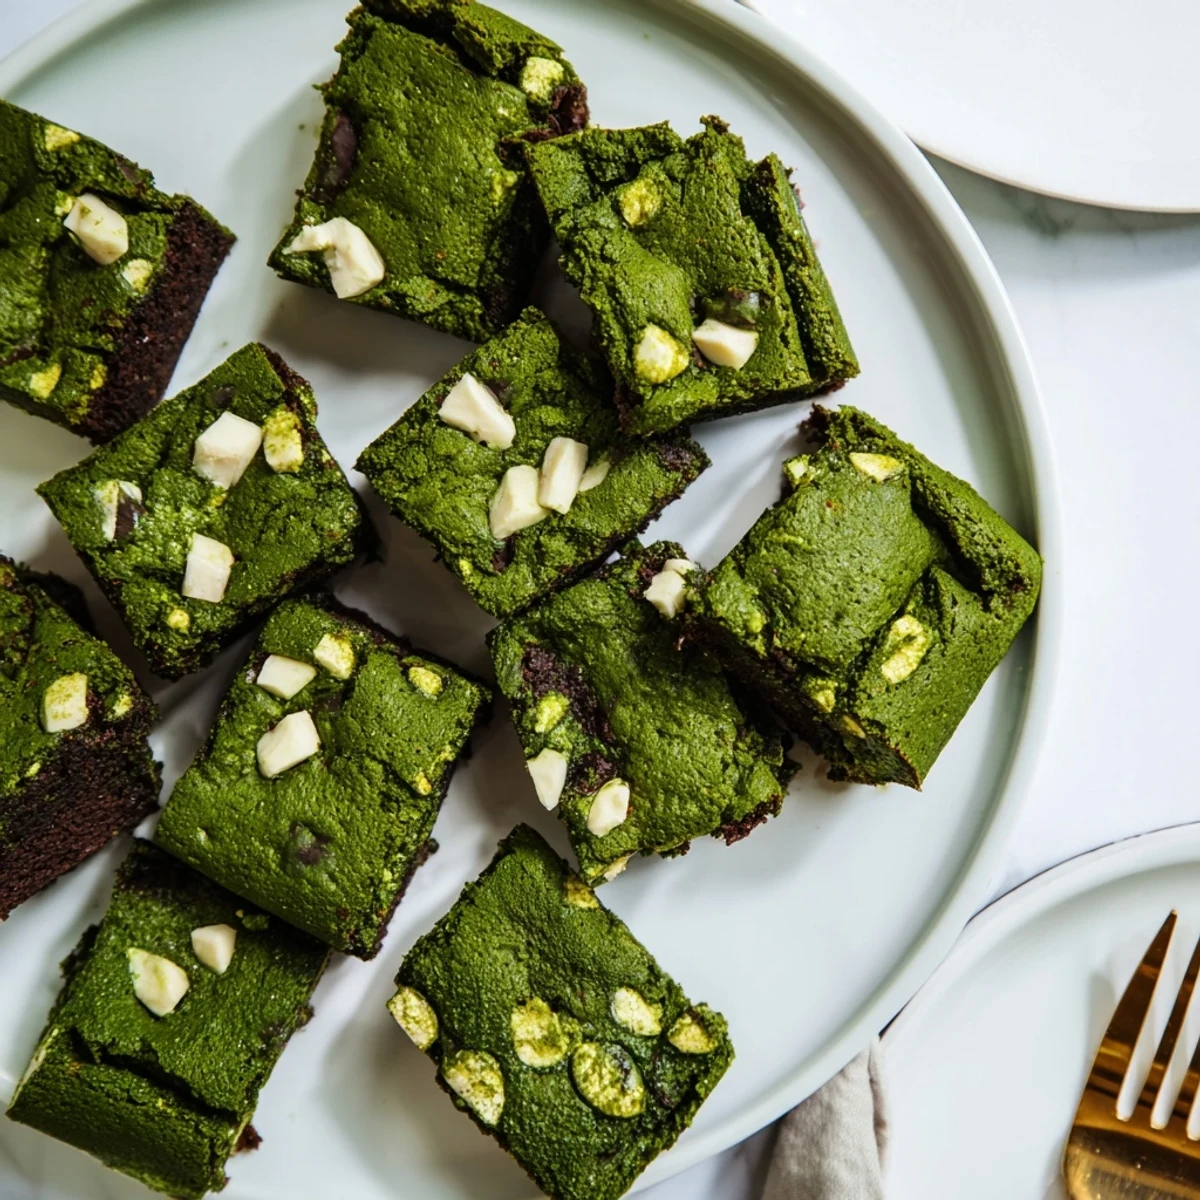
 These indulgent matcha brownies combine the rich fudginess of classic squares with the earthy brightness of premium green tea powder. White chocolate adds creamy sweetness that perfectly balances matcha's natural bitterness, creating a sophisticated fusion dessert.
The simple whisking method comes together in just 15 minutes of prep time. Bake until set with moist crumbs for that irresistibly dense, chewy texture brownie lovers crave. Perfect with tea or as an elegant dessert.
The first time I served these at dinner, my friend Sarah took one bite and her eyes went wide. She couldn't place the flavor at first, that earthy, grassy note cutting through all the sweetness. Then she laughed and said it tasted like a green tea latte decided to become a dessert.
I made these for my sisters birthday last spring when she was going through a matcha phase. She had them at every café in town, claiming she could tell the good powder from the cheap stuff. When I pulled these out of the oven, that unmistakable aroma filled the whole kitchen and she looked at me like I'd performed magic.
Ingredients
- All-purpose flour: The structure builder here. Don't pack it down when measuring or your brownies will turn out cakey instead of fudgy.
- Matcha powder: Splurge on culinary grade here. The cheap stuff tastes dusty and bitter, while good matcha brings this smooth, grassy sweetness that makes people lean in and ask what's different.
- Baking powder: Just a touch to give them a little lift. You want dense brownies, not little green hockey pucks.
- Salt: Crucial for balancing all that white chocolate sweetness and making the matcha flavor pop.
- Unsalted butter: Melt it gently so it doesn't separate from the sugar. I accidentally boiled it once and the texture was never quite right.
- Granulated sugar: Creates that crackly top crust we all love. Don't reduce this or you'll lose that signature brownie crunch.
- Eggs: Room temperature eggs incorporate better into the melted butter. If you forget to take them out, soak them in warm water for five minutes.
- Vanilla extract: Pure extract only. I once used imitation and it had this weird chemical aftertaste that fought with the delicate matcha.
- White chocolate: Chop it yourself instead of buying chips. The irregular chunks melt into pockets and leave bigger pieces scattered throughout.
Instructions
- Get your oven ready:
- Preheat to 350°F and line an 8x8 pan with parchment paper. Leave those edges hanging over like a little sling. I learned this the hard way after trying to pry brownies out of a bare pan with a butter knife.
- Whisk the dry team:
- Combine flour, matcha, baking powder, and salt in a medium bowl. The matcha will clump a bit, so take your time whisking until it's evenly distributed. Otherwise you'll get these weird green pockets that taste like straight powder.
- Build the wet base:
- Whisk melted butter and sugar until they're fully friends. Add eggs one at a time, letting each disappear before the next. Stir in vanilla and watch the mixture turn glossy and thick.
- Bring them together:
- Fold dry ingredients into the wet mixture until just combined. Do not overmix. Some flour streaks are better than tough brownies. The batter should be thick and glossy.
- Add the chocolate:
- Gently fold in chopped white chocolate. You want some pieces to stay whole for those molten pockets after baking.
- Spread and bake:
- Pour batter into your prepared pan and spread evenly. Bake 22 to 25 minutes until a toothpick comes out with moist crumbs, not wet batter. They continue cooking as they cool.
- The hardest part:
- Let them cool completely in the pan. I know, I know. But cutting warm brownies makes them crumble and the white chocolate won't set properly.
 Bookmark
 My mom claims she doesn't like matcha anything, but she ate three of these while helping me clean up after a party. She kept saying she was just testing them to make sure they were safe to serve, but I saw her sneak another one when she thought no one was watching. Sometimes the best conversions happen through butter and chocolate.
Getting The Texture Right
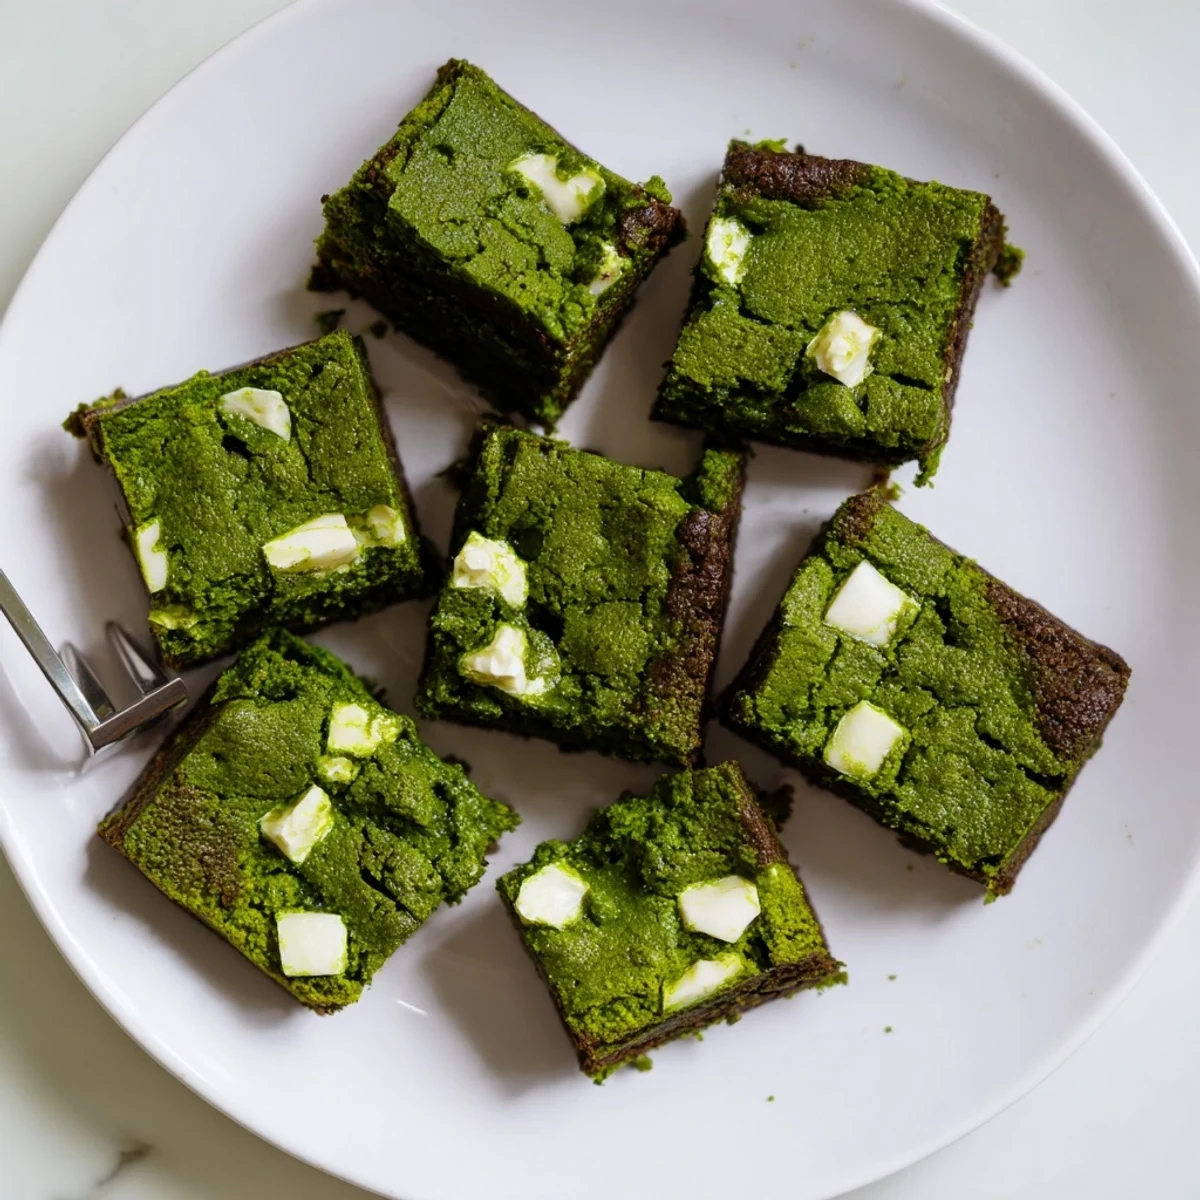
Underbaking slightly is your friend here. The toothpick should have moist crumbs attached, not come out clean. These continue firming up as they cool, and that slightly underdone center is what gives them that fudgy, almost truffle-like quality that makes people's eyes roll back.
Making Them Your Own
Once I folded in some crushed pistachios and it was this next-level situation. The nutty flavor played so nicely with the matcha. White chocolate and macadamia would be gorgeous too. Just keep the add-ins to about a half cup total so you don't throw off the delicate balance.
Storage And Serving
These actually get better after sitting overnight. The flavors meld and the texture settles into something denser and more fudge-like. Store them at room temperature for up to three days, though I've never personally had them last that long.
- Wrap individual squares in parchment and freeze for up to a month. They thaw beautifully on the counter.
- Serve them slightly warmed with a scoop of vanilla bean ice cream if you really want to impress someone.
- A light dusting of powdered sugar makes them look fancy without hiding that gorgeous green speckling.
 Bookmark
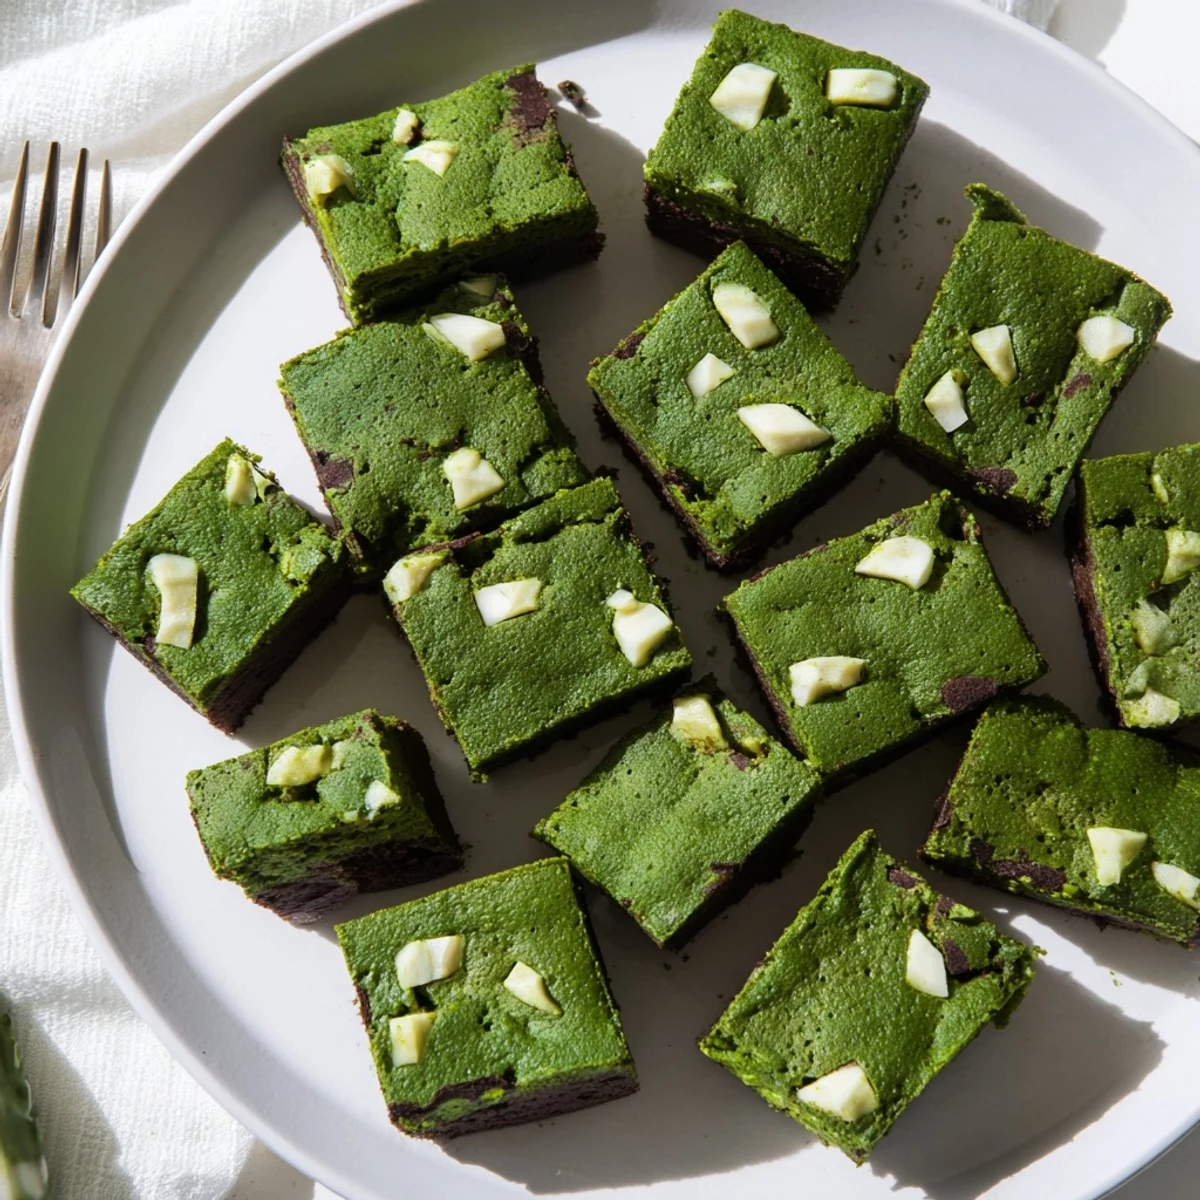
 There's something about cutting into these and seeing that jade green color studded with cream-white chocolate chunks that feels special. They're the kind of treat that makes people pause, take a picture, and then ask for the recipe.
Recipe FAQs
- → What does matcha taste like in brownies?
-
Matcha adds an earthy, grassy sweetness that pairs beautifully with white chocolate. The flavor is subtle yet distinctive, creating a sophisticated twist on traditional chocolate squares.
- → Can I use dark chocolate instead of white?
-
Yes, dark chocolate chips work well for a more intense chocolate flavor. The bittersweet notes complement matcha's earthiness, though the overall taste will be less sweet.
- → How do I know when matcha brownies are done?
-
Insert a toothpick into the center - it should come out with a few moist crumbs, not completely clean. This ensures fudgy texture. Overbaking will make them dry.
- → Can I make these more intensely green?
-
Increase matcha powder to 2.5 tablespoons for stronger flavor and vibrant color. Be careful not to add too much, as excessive matcha can make the squares bitter.
- → How should I store these brownies?
-
Keep in an airtight container at room temperature for up to 3 days, or refrigerate for up to a week. They can also be frozen for up to 3 months.
