 Bookmark
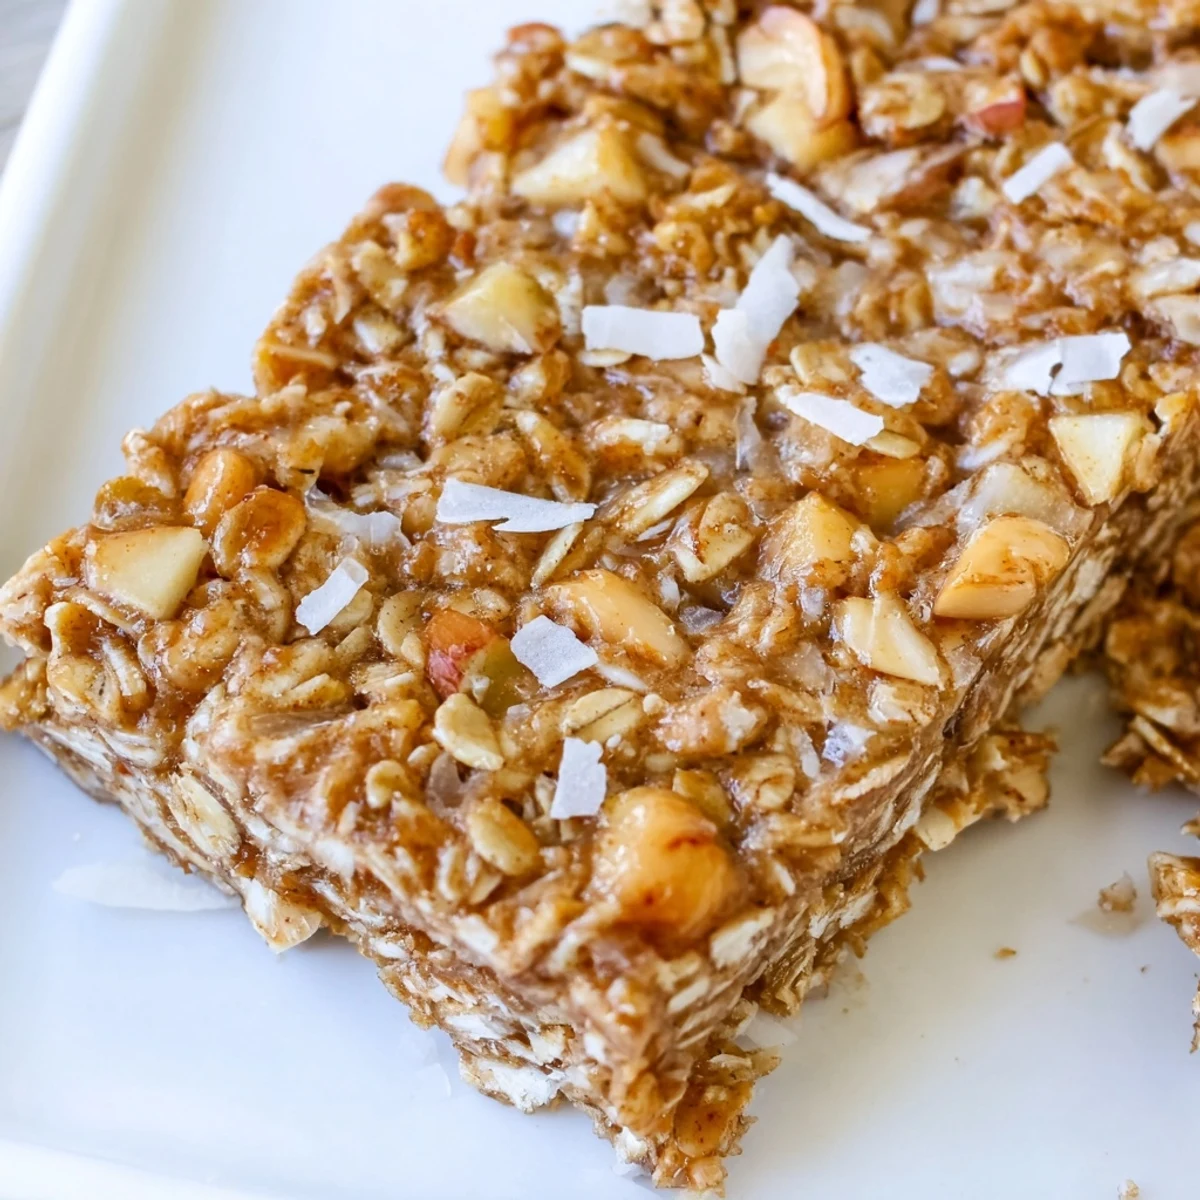
 These soft and chewy bars combine wholesome oats, crispy rice cereal, and sweet dried apple with rich creamy peanut butter. The honey-sweetened mixture binds everything together perfectly, creating satisfying bars that hold their shape beautifully when chilled. Simply press the mixture into a pan, refrigerate until firm, and slice into portable portions perfect for snacking on the go.
The first time I made these, my kitchen counter was covered in half-unpacked grocery bags and I was desperately trying to find something my kids would actually eat for snacks that week. These bars came together so quickly that I made them again the next day, and now they are the first thing to disappear from the refrigerator every single time.
Last fall, I brought a batch to my daughters soccer game and ended up scribbling the recipe on three different napkins for other parents. Now whenever I show up to anything, people just assume I have these bars tucked somewhere in my bag.
Ingredients
- 2 cups old-fashioned rolled oats: These provide the chewy backbone and hold everything together beautifully
- 1 cup crispy rice cereal: Adds that perfect light crunch that contrasts with the dense oats
- 1/2 cup dried apple finely chopped: Dice these small so they distribute evenly throughout every bite
- 1/3 cup unsweetened shredded coconut optional: Toast it beforehand for an even deeper nutty flavor
- 1/4 cup chopped peanuts optional: I love the extra salt and crunch but sunflower seeds work too
- 1/2 teaspoon ground cinnamon: This is what makes everything taste like fall comfort
- 1/4 teaspoon salt: Crucial for balancing the sweetness and making flavors pop
- 1/2 cup natural creamy peanut butter: Use the kind that just has peanuts and salt for the cleanest taste
- 1/3 cup honey or maple syrup: Honey gives a classic sweetness while maple adds a darker depth
- 2 tablespoons coconut oil melted: This helps the bars firm up properly in the fridge
- 1 teaspoon pure vanilla extract: Do not skip this tiny but mighty flavor booster
Instructions
- Prep your pan:
- Lining your square baking pan with parchment paper creates those handy overhang flaps that make lifting out the whole slab so much easier later.
- Combine the dry ingredients:
- Use the biggest bowl you have because once you start mixing, oats tend to bounce everywhere and you want room to stir without making a mess.
- Melt the wet mixture:
- Warm the peanut butter, honey, and coconut oil just until smooth and pourable, stirring constantly so nothing scorches or separates.
- Mix it all together:
- Pour the warm mixture over the dry ingredients and keep stirring until every single oat and piece of cereal is coated in that sticky sweet goodness.
- Press firmly into the pan:
- Use the back of a spatula or your hands to really pack it down tight because this is what keeps the bars from crumbling when you cut them later.
- Chill until set:
- The refrigerator does all the work here, firming everything up into perfect bars that hold their shape beautifully.
- Cut and enjoy:
- Use a sharp knife and slice with one firm motion rather than sawing back and forth to get the cleanest edges on your bars.
 Bookmark
 My father-in-law, who never eats anything with the word healthy attached to it, ate three of these during a visit last month and actually asked if I could make him a batch to take home on the plane. That is when I knew this recipe was a permanent keeper.
Making Them Your Own
The beauty of these bars is how forgiving they are with substitutions. I have swapped the dried apple for chopped dates when that was what I had in the pantry, and swapped peanut butter for almond butter when my niece brought a friend over with a peanut allergy. The texture stays just as perfect.
Storage Secrets
These bars actually improve after a day in the refrigerator as the flavors meld together. I keep them stacked between sheets of parchment in an airtight container, and they stay fresh for a full week without getting weirdly hard or losing that soft chew that makes them so addictive.
Serving Ideas
Sometimes I crumble a bar over Greek yogurt for breakfast, and after school my kids love them with a glass of cold milk. They are also unexpectedly good dipped in melted dark chocolate if you want to turn them into something closer to dessert.
- Try mini muffin liners for portion-controlled grab-and-go bites
- Wrap individual bars in plastic for lunchbox perfection
- Keep a stash in the freezer for up to three months
 Bookmark
 There is something deeply satisfying about having a homemade snack ready to go, especially one that feels indulgent while being made from ingredients you can actually pronounce. I hope these become your go-to for busy weeks and hungry moments.
Recipe FAQs
- → How long do these bars need to chill?
-
Refrigerate for at least 1 hour until completely firm. The chilling time helps the bars hold their shape when cutting and keeps them solid at room temperature.
- → Can I make these nut-free?
-
Yes, substitute sunflower seed butter for the peanut butter and omit the chopped peanuts. The texture and binding will work just as well with this swap.
- → What's the best way to store these bars?
-
Keep them in an airtight container in the refrigerator for up to 1 week. They stay firm and hold together best when chilled, though they're fine at room temperature for a few hours.
- → Can I use maple syrup instead of honey?
-
Absolutely. Maple syrup works perfectly as a vegan alternative and provides similar binding properties. The flavor will be slightly different but equally delicious.
- → Why do I need to press the mixture firmly?
-
Pressing firmly compacts the ingredients so the bars hold together properly. Use your hands or a spatula to apply even pressure across the entire pan surface.
- → Can I add mix-ins like chocolate chips?
-
Yes! Fold in chocolate chips, seeds, or additional dried fruit after combining the wet and dry ingredients. Just keep total add-ins to about ½ cup to maintain proper texture.
