 Bookmark
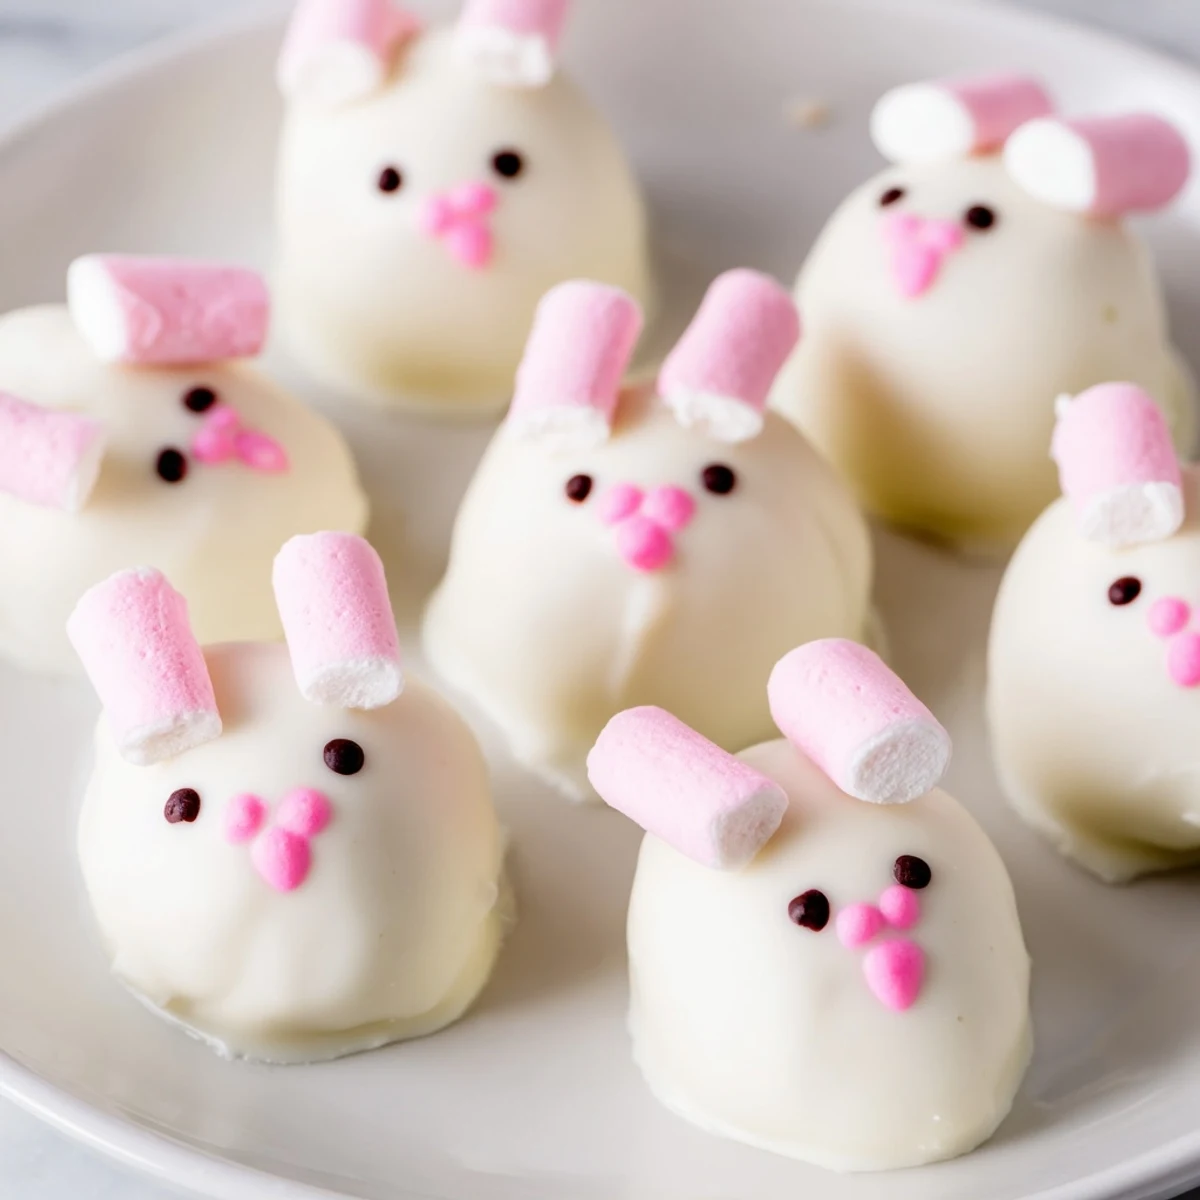
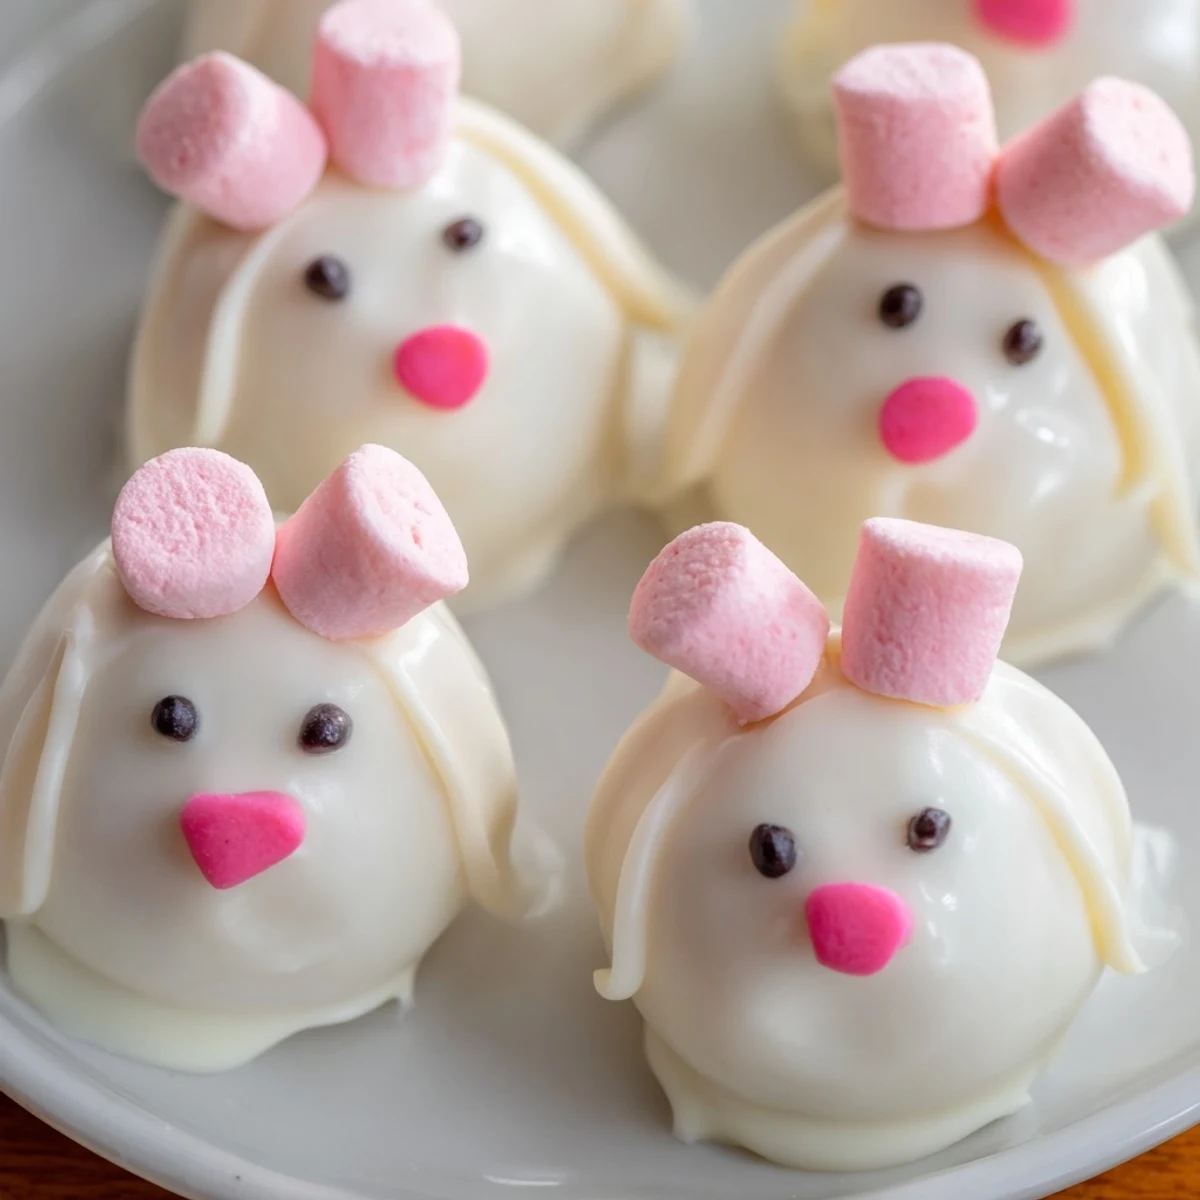
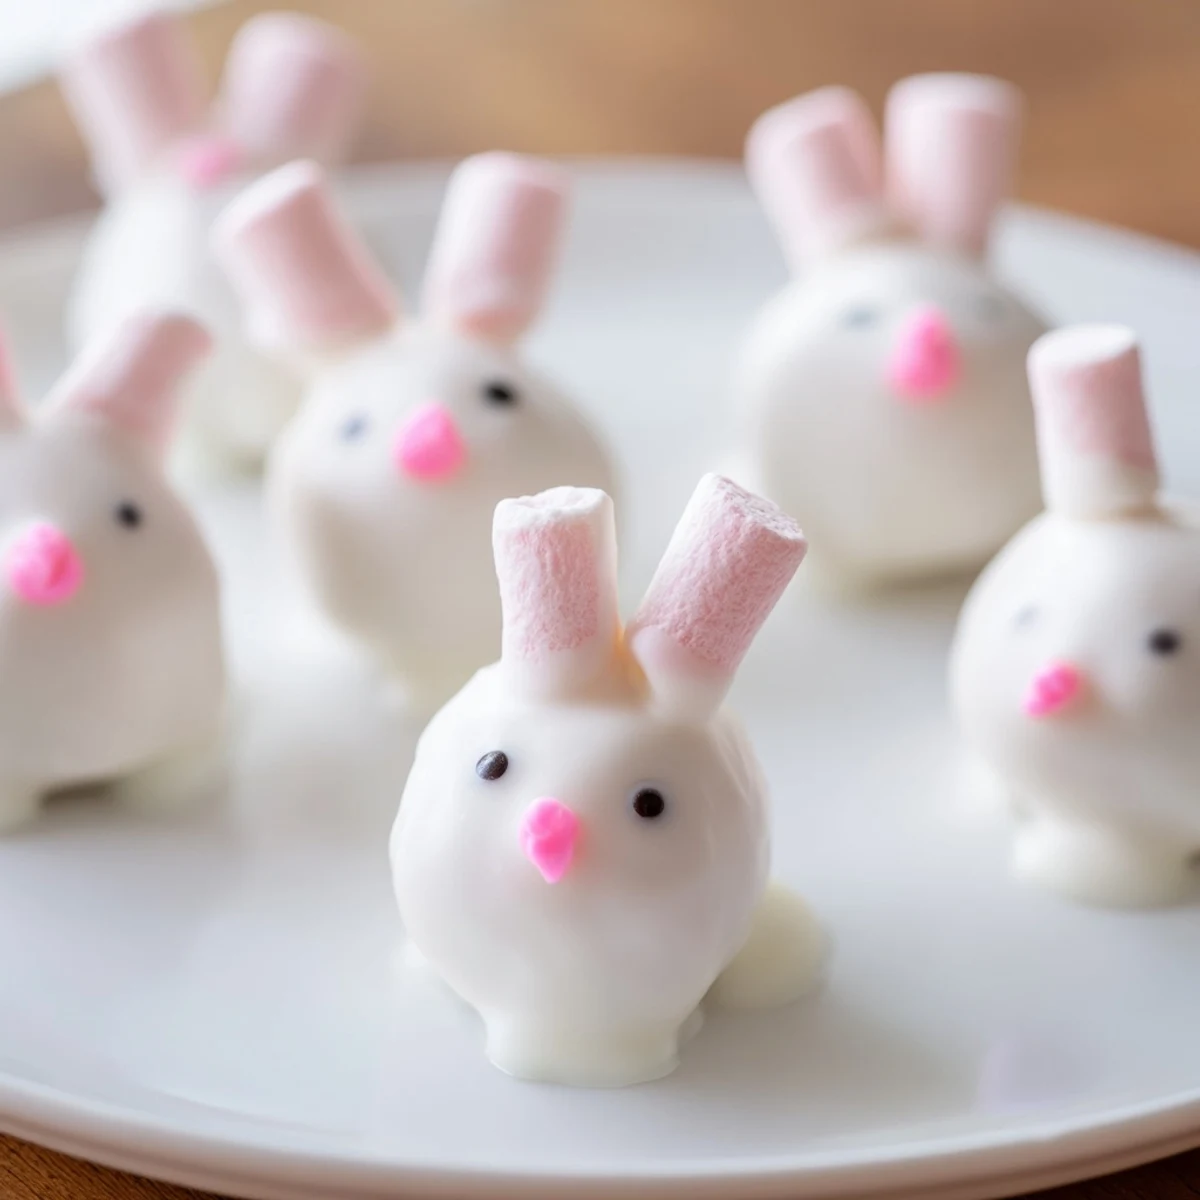
 These delightful bunny-shaped treats combine crushed Oreo cookies with cream cheese, dipped in smooth white chocolate and decorated with marshmallow ears and tails. The process involves blending Oreos into fine crumbs, mixing with softened cream cheese, shaping into oval bunny heads, and coating with melted white chocolate. Each bunny gets playful details including pink candy melt noses, marshmallow ears, and cute food marker eyes. After chilling to set, these festive confections are ready for your spring table. The yield of 24 treats makes them ideal for Easter gatherings or spring parties.
The first time I attempted bunny shaped treats, I ended up with what my sister called "disturbed rabbits" and what I called abstract art. We laughed so hard that evening, eating the misshapen creatures anyway, because the taste was perfect. Something about that creamy Oreo center coated in sweet white chocolate just works. Now I make them every spring and have finally mastered the art of adorable bunny faces.
Last year I brought a platter to our neighborhood Easter gathering and watched three kids argue over who got the bunny with the crooked ear. The host said she had to hide them because adults were sneaking them before dessert even started. Theres something about seeing these little faces lined up that makes everyone smile before they even take a bite.
Ingredients
- 36 Oreo cookies: Regular Oreos work best here since Double Stuf makes the filling too soft to hold its shape
- 225 g (8 oz) cream cheese: Must be completely softened or you will get lumps in your dough
- 400 g (14 oz) white chocolate: Candy melts are easier for dipping but real white chocolate tastes better if you can work with it
- Pink candy melts: You only need a small amount for the noses and ear details
- Mini marshmallows: Get an extra bag because you will absolutely snack on them while working
- Edible black food marker: A steady hand helps but honestly slightly wonky eyes just add personality
- Sprinkles: Optional but the bunnies look extra festive with a little sparkle
Instructions
- Pulse those cookies:
- Process the Oreos until they are fine crumbs with no visible chunks remaining
- Make the dough:
- Add the softened cream cheese and blend until everything comes together into a smooth pliable mixture
- Shape your bunnies:
- Scoop tablespoon sized portions and gently roll them into slightly oval shapes rather than perfect spheres
- Prep the marshmallow parts:
- Cut some marshmallows in half for tails and slice others into thin slivers for ears
- Chill the mixture:
- Place all your shaped bunny heads on a parchment lined baking sheet and freeze for 30 minutes so they are firm enough to dip
- Melt the coating:
- Heat the white chocolate in 30 second intervals stirring thoroughly between each until completely smooth
- Dip and decorate:
- Quickly coat each ball in chocolate let the excess drip off then immediately attach the marshmallow ears and tail before the coating sets
- Add the faces:
- Once the chocolate is firm use pink candy melts and a toothpick for noses and ear centers then draw eyes with your food marker
- Final chill:
- Refrigerate the finished bunnies for at least 30 minutes so the coating hardens completely
 Bookmark
 My niece now requests these every time she visits and has started helping me with the faces. Her bunnies always end up with crooked smiles and extra pink noses which I have decided is their signature style. It has become our thing.
Making Them Ahead
You can prepare the Oreo mixture and shape the bunnies up to two days in advance. Keep them tightly covered in the refrigerator and dip them in chocolate the day you plan to serve them for the freshest appearance.
Flavor Variations
Try mixing crushed pretzels into the Oreo filling for a salty sweet contrast or use Golden Oreos for a vanilla version. Milk or dark chocolate coating works beautifully too especially if you use white chocolate for the faces to make them pop.
Serving Suggestions
Arrange the bunnies on a bed of edible Easter grass or green-tinted coconut for a festive display. They also nestle perfectly into cupcake liners for easy individual servings at parties.
- Work quickly when attaching marshmallow pieces so they stick to the wet chocolate
- Let the finished bunnies come to room temperature for about 10 minutes before eating for the best texture
- Store any leftovers in the refrigerator where they will keep perfectly for up to 5 days
 Bookmark
 However lopsided or imperfect your first batch turns out they will disappear just as quickly as the picture perfect ones. That is the sweetest part.
Recipe FAQs
- → How long do bunny Oreo balls stay fresh?
-
Store these treats in an airtight container in the refrigerator for up to 5 days. The cool temperature keeps the chocolate coating firm and the creamy filling fresh.
- → Can I use Double Stuf Oreos instead of regular?
-
Regular Oreos work best as they provide the perfect cookie-to-cream ratio for the truffle mixture. Double Stuf may make the filling too soft to hold its shape properly.
- → What if I don't have a food processor?
-
Place Oreos in a sealed plastic bag and crush with a rolling pin or heavy bottom of a pan until fine crumbs form. Mix with cream cheese by hand in a bowl until combined.
- → Can I make these ahead of time?
-
Yes, prepare the bunny shapes up to 2 days in advance and store unfrozen. Coat with chocolate and decorate the day before serving for best appearance and texture.
- → What's the best way to melt white chocolate?
-
Melt in 30-second intervals in the microwave, stirring between each session. This prevents scorching and ensures smooth, pourable consistency for even coating.
- → Can I use candy melts instead of real chocolate?
-
White candy melts work excellently and often coat more smoothly than real white chocolate. They also set faster and hold up better at room temperature during serving.
