 Bookmark
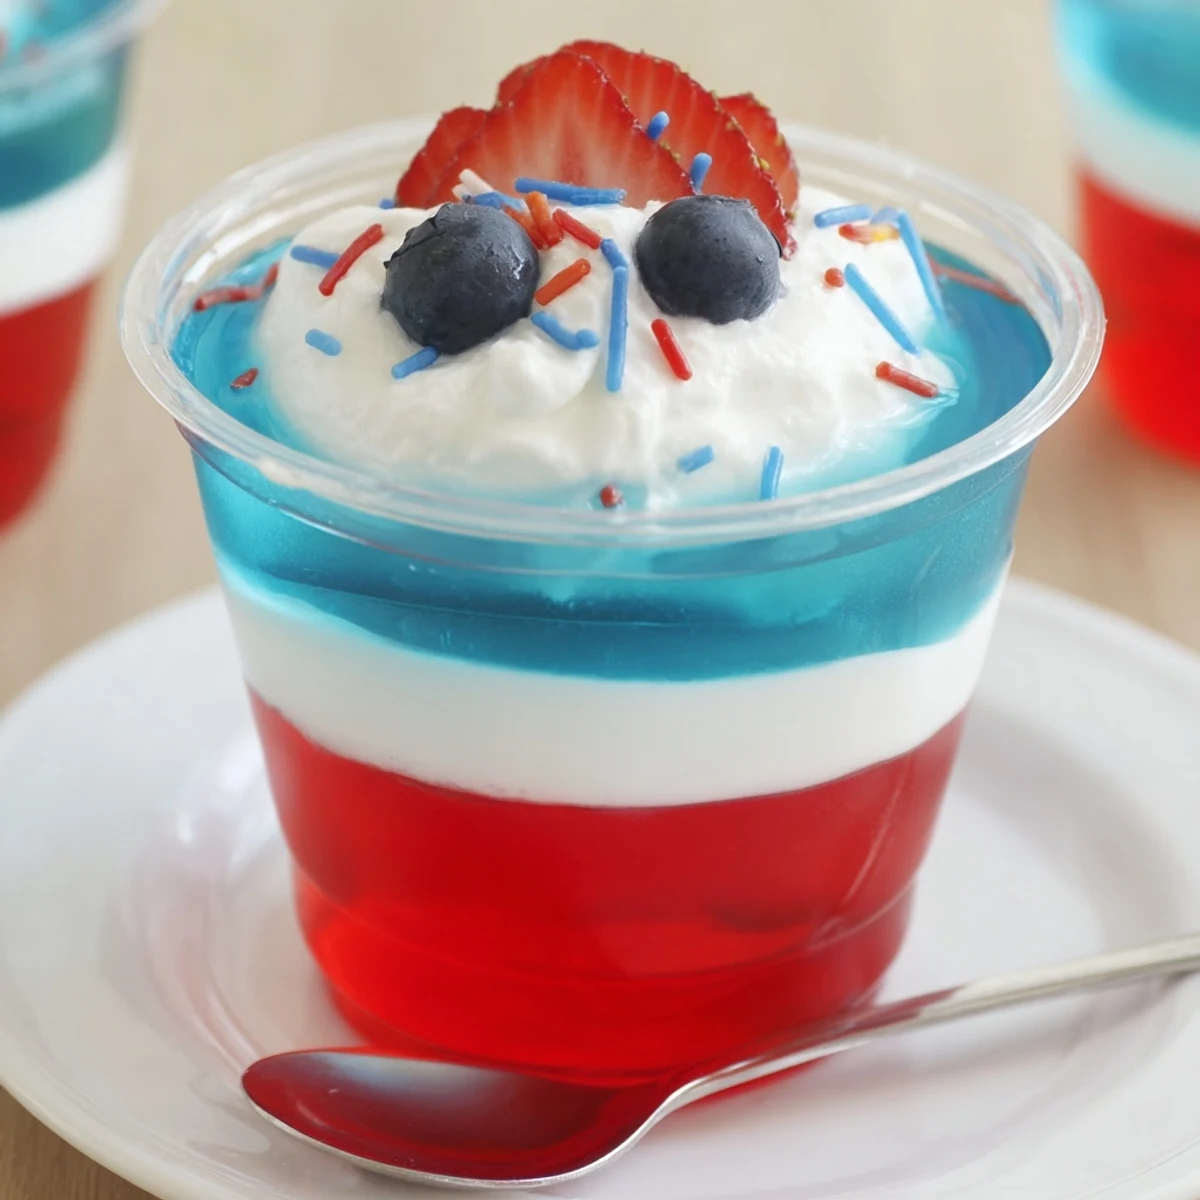
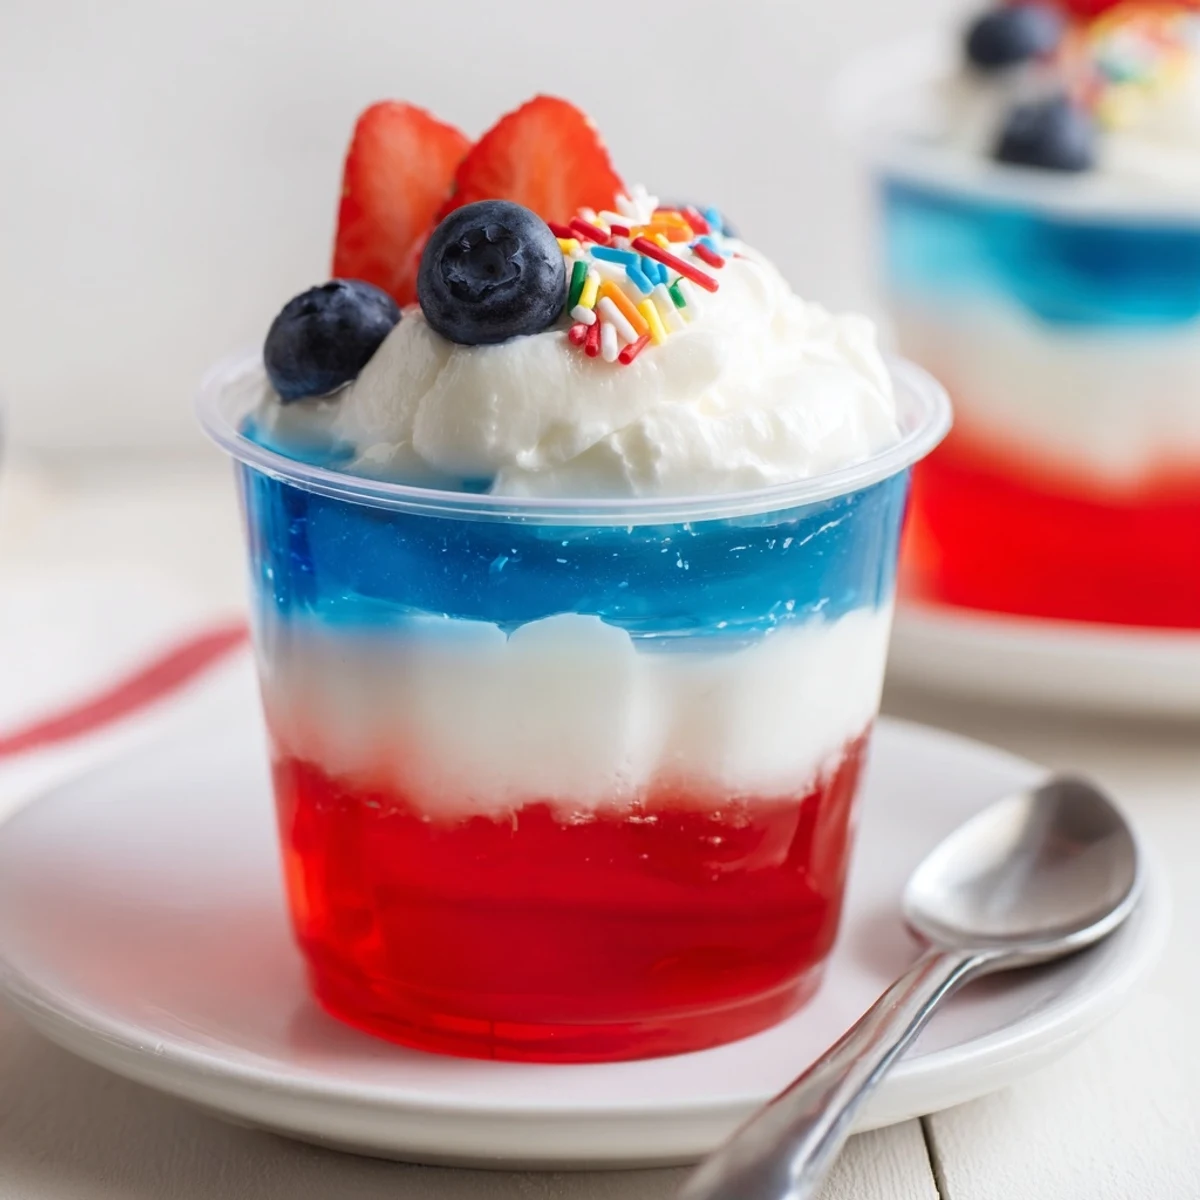
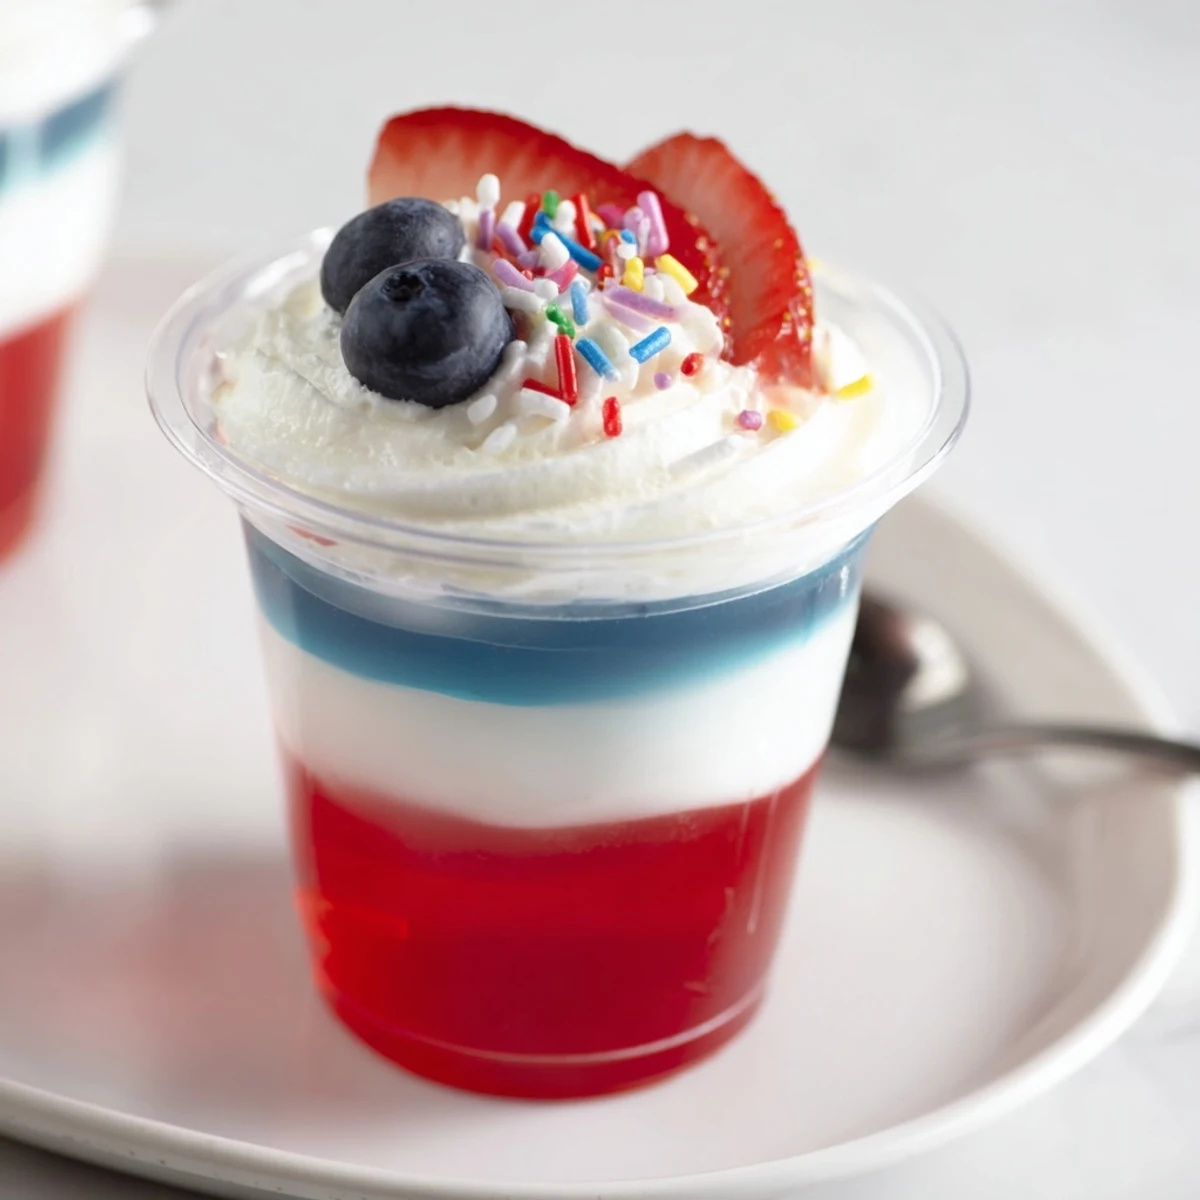
 These patriotic layered gelatin cups build color in three chilled stages: prepare and set the red gelatin, add a creamy vanilla pudding layer folded with whipped topping, then top with berry-blue gelatin. Chill until fully firm, about 4+ hours. Garnish with extra whipped topping and fresh berries. Make-ahead friendly and easily adapted to dairy-free ingredients for special diets.
On a whim one July afternoon, I tried my hand at these Red White And Blue Jello Cups when a summer thunderstorm kept us from the neighborhood fireworks. The kitchen was suddenly full of laughter and questions about the science behind color and wiggle. The cheerful layers felt like crafting in dessert form—each one a little triumph as we peeked in the fridge. Hearing the soft plop of each finished cup hitting the tray was my odd little victory tune.
One of my favorite moments making these was rushing to add whipped topping before friends arrived, hands sticky from berries, while my sister draped tiny flags around the porch just for the fun of it. I still remember the bright streak of blue gelatin on my arm from moving too quickly between layers, laughing as I wiped it away and hoped nobody saw.
Ingredients
- Strawberry or cherry-flavored gelatin: The deep red hue stands out sharply, and I've learned using freshly boiled water gets the powder smooth every time.
- Boiling water: Don't skimp—a rolling boil dissolves the gelatin evenly and avoids clumps.
- Cold water: A quick chill is essential here, helping the gelatin set firm yet jiggly.
- Instant vanilla pudding mix: This brings the creamy white tier to the party, but always whisk briskly to avoid lumps.
- Cold milk: Keeps the pudding light and easy to layer (skim works, but whole milk is dreamy).
- Whipped topping: Folding this in makes the pudding airy—I've found thawing fully prevents sneaky pockets of frosty bites.
- Berry blue-flavored gelatin: Kids love the blue layer best, but gently mixing ensures no weird crystal bits remain.
- Fresh berries: If you’re feeling extra, dot the tops right before serving so the berries pop and don’t bleed into the frosting.
- Additional whipped topping and sprinkles: These are just for pure fun, and honestly, the more, the merrier.
Instructions
- Layer One: Red Foundation
- Pour the crimson gelatin into a bowl, inhale the sweet scent, and whisk with bubbling hot water until the grains vanish. Add cold water, give it one more swirl, and carefully spoon the liquid into each cup — watch the color bloom as it pools.
- Creamy White Centerpiece
- Whisk pudding mix and cold milk with energy until thick, then fold in the whipped topping gently — it turns billowy and cloudlike. Spoon the white cushion onto the chilled red base, no need for perfect lines, and return to the fridge for a half-hour to firm up.
- Brilliant Blue Finale
- Stir the blue gelatin with boiling water, letting the steam rush up, then add the chill of the cold water. When the white layer sets, pour or gently ladle blue overtop, aiming for that bright even layer, and tuck it all away in the fridge for a couple more hours.
- Dress It Up
- At go-time, add a generous swirl of whipped topping, a scatter of berries, and a spark of sprinkles. Each cup comes out looking ready for a parade.
 Bookmark
 Watching a tray of these in the fridge turns into its own anticipation—the kids camped out by the door, inventing reasons to check 'just in case,' until I finally relented and let them sneak a peek. That day, dessert basically became the centerpiece of our get-together, outshining even the grilled hot dogs.
Choosing the Right Cups for Perfect Layers
Clear cups make a world of difference; seeing the vibrant stripes while you work makes the whole project more satisfying. I've tried everything from mason jars to mismatched juice glasses, but those simple plastic dessert cups really showed off the patriotic colors best.
Layer Timing and Patience
Resisting the urge to rush each set is the only hard part—I've learned that chilling in between gives crisp, photo-worthy lines. If you're like me and start poking at the red layer too soon, just smooth it over and keep going—imperfection still tastes delicious.
Garnishes That Steal the Show
A little flourish up top changes everything, so I let little hands pile on berries, extra whipped clouds, and whatever patriotic sprinkles we find. It's become a running contest who can make the 'most festive cup.'
- Wait until just before serving for fresh berries so they stay perky.
- Overfill with whipped topping for extra drama.
- Sprinkles add crunch and a bit of sparkle, but use them right before you parade out the cups.
 Bookmark
 Here’s hoping your cups stack up as tall and playful as your summer plans. Share them with a crowd, or enjoy the leftovers as a cool treat on the quiet day after.
Recipe FAQs
- → How do I prevent the layers from bleeding into each other?
-
Chill each layer until fully set before adding the next. Pour the next layer gently over the back of a spoon or use a small ladle to diffuse the flow. Make sure the layer you're adding is cool enough so it won't partially melt the layer below.
- → Can I use juice instead of flavored gelatin mix?
-
Plain fruit juice lacks the gelling agents found in powdered mixes. To use juice, dissolve unflavored gelatin in hot juice and sweeten to taste, or mix juice with the flavored gelatin according to package ratios. Adjust sugar and acidity as needed.
- → How long should the cups chill for best results?
-
Chill the red layer at least 1 hour until firm, the white layer about 30 minutes to set, then refrigerate the completed cups 2–3 hours (or longer) until fully set. Total chilling time is roughly 4 hours for dependable firmness.
- → What are good dairy-free substitutions?
-
Use plant-based milk with a compatible instant pudding mix or make a coconut-cream pudding. Replace whipped topping with non-dairy whipped alternatives and check labels for gelatin or other animal-derived ingredients if avoiding them.
- → Which serving vessels show the layers best?
-
Clear cups or small glass tumblers showcase the layers nicely. Use uniform-sized cups for even layer heights and ease of serving; clear plastic is a convenient option for outdoor gatherings.
- → Can these be assembled ahead of time?
-
Yes. Assemble up to one day in advance and keep covered in the refrigerator. Add any delicate garnishes like extra berries or sprinkles just before serving to preserve texture and appearance.
